I made a lot of progress yesterday on the Waco repairs. While my work is not always elegant, and I really have no idea how to lay down large areas of cote with complex curves, I did a pretty decent job on this project!
The port side of the fuse had one minor cote cut out where I made a small sheet repair.
You can see the reconstructed wing root surface here, painted red. I didn't feel like cote-ing over.
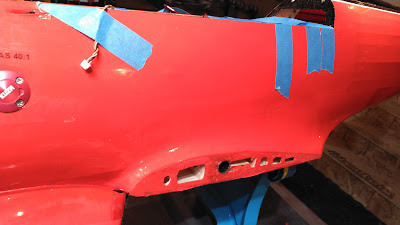
Managed to match the curve nicely.
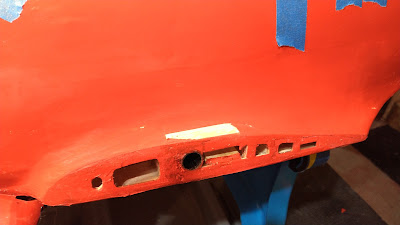
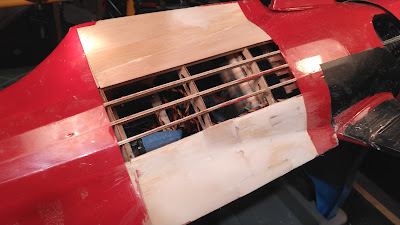
This is the starboard side. this required massive puzzle reconstruction because my skill set does not include forming balsa sheet into complex curves. Its not fully apparent here but there is a continuous S curve along the side through the wing root. The patch work came out smooth and follows the contours nicely. Spackle smoothed the remaining cracks and crevices. Allowing this to set overnight before a light sanding and ironing on the cote.
As I feared, I didn't manage to align the port wing root hardpoint and its wing tab. This happened because of a curious "oversight". See that piece of vertical wood with the hold in it on the left of the hardpoint and screw? So that fit perfectly, both on the tab side, and almost on the bulkhead (you can see it duplicates part of the wood its attached to). That hole in the wood also clearly has red on it from the cardboard wing tube guide; that indicates it should be in FRONT of the tab, not behind. This assembly of the hardpoint and this piece of wood fit so nearly perfectly in the spot I decided to go with it hoping the alignment would be spot on as a result. Later I would realize that this piece of wood was certainly on the WRONG SIDE OF THE AIRCRAFT. Nothing survived of the starboard side internal attachment of the hardpoint so I couldn't match fit it, but the clues were obvious I had repaired this wrong. So, no surprise the hardpoint and the wing root tab did not align. I popped out that piece of wood with the hole in it and discarded it, and with less difficulty than I expected, extricated the hardpoint, aligned it properly and reinstalled it.
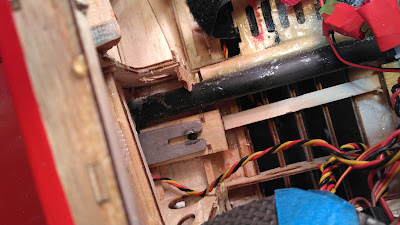
Perfect. The port wing attachment hardpoint after realignment repair. Put a cross piece between the hardpoints spanning the fuse, will strengthen this with the goal of distributing any forces across both hardpoints. It does not touch the stringers underneath.
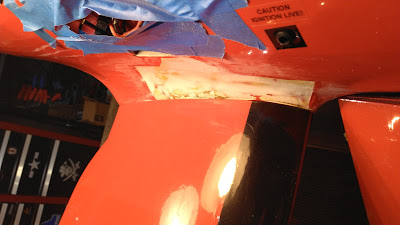
The underside, sanded and sealed with thinned epoxy (like fuel proofing).
Wanted to seal the spackle from moisture. The lower (port) side is the side that externally took severe sheet damage that required extensive puzzle piece repair. It came out awesome. You can see the complex curves.
As admitted, my large complex curve cote skills are lacking, but this came out decent. I applied 3 layers of cote to strengthen the underside, having decided not to fiberglass it.
The underside is also done!!!
This whole repair project is going much better than I had ever imagined. Not wanting to deal with the complexity of the repair, and worried it was trashed inside, I had set it aside all fall, winter and spring. I am pleased this has gone so well, can't wait to finish up that starboard side, put the wings on, start her up and FLY!




No comments :
Post a Comment