The flying monkeys got me...

Helis, Fixed Wing, RC Sailing

AMA 957918

Pirate Kid Skeleton by RadDezigns.

Friday, August 12, 2011

Cornell Sorta #3 Update

The little voice in my head is happy!

I took the refurbished Cornell out to BMF today, and after several flights on the Alpha and a couple Cubby flights, I took the Cornell out to the flightline. The little voice started up on me when I arrived at BMF (I actually think before that, like, last night). On the flightline, transmitter in hand, aircraft flight ready, I just couldn't shake it. I just didn't feel right.  She looked perfect, but if I flew her I wouldn't know if an ensuing crash was pilot error or porblems with the aircraft. Jerry Gollot had been coaching Joe, who had just sustained a hard landing. They were walking back across the field with his plane.. the voice was nagging me. Not in a wifey way, but in a way that kept my attention.

As he approached I asked Jerry if he'd maiden the Cornell for me, and with a laugh, he said yes, "I ain't got nothin' invested in her!"

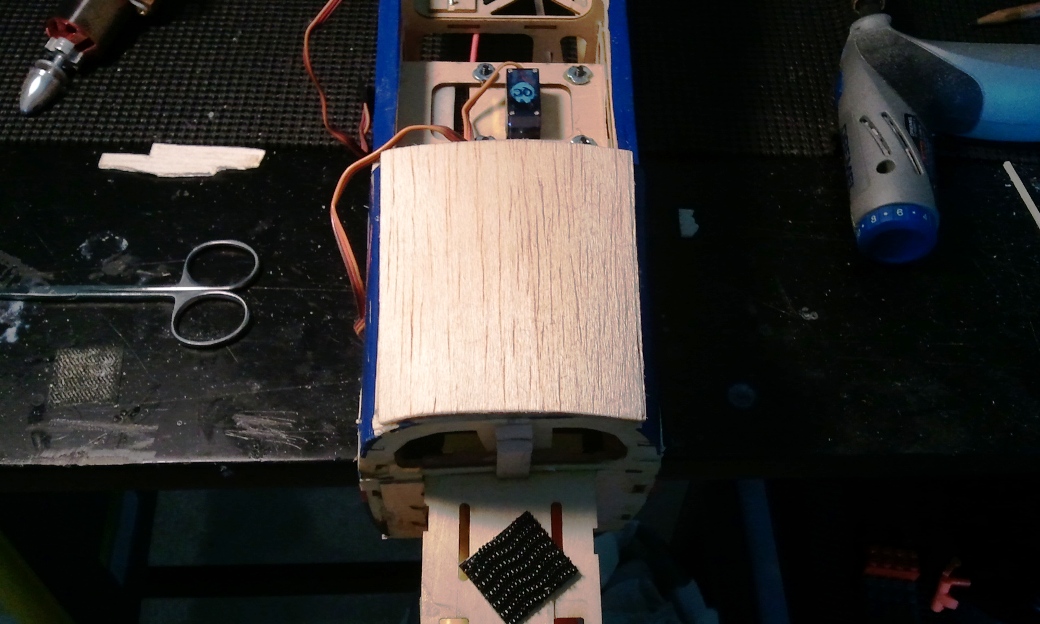
Jerry had checked her balance earlier in the pits, and he was pleased with it. He checked out the controls and the rates I had set up. He spun the motor up... lots and lots of power. Her tail hopped right up. He hot taxied her then bumped her into the air keeping her in ground effect, then landed her. He was clicking away at the trims. He turned her around, and took off. She went nuts, tail heavy, rolling, heading for the flightline fence, over that, heading for the trees. He got her under control and took her to altitude where he went to work on the trims again like he was playing the piano! 

He got her trimmed out and we learned a few things. The plane is flying tail heavy despite the CG being fine as designated. We also learned that she torques like crazy with power, so she needs right rudder trim when going fast. She glides like a rock with one heckuva sink rate. She is tricky to take off and land. In cruise properly trimmed she flies awesome! Version 1 was far more stable.

So we will be experimenting with adding some nose weight, and see if I can get her more centered without making her too heavy. I am pleased, but still nervous to fly her myself until this gets sorted out.

But the little voice in my head is happy, and that's what matters! Thanks, Jerry!

Thursday, August 11, 2011

Cornell Sorta #3


Well there was the original Cornell. Flew wonderfully, one of Eflite's best aircraft. She was a thing of beauty until I dumb thumbed her into the ground when I opened a loop too low.


I rebuilt her after a long wait. Greg Reed had started the rebuild. I finished her, with a slightly twisted wing, sent her up, and she came briskly back down. That was Cornell #2.


Cornell # 2 after her maiden flight crash.


A few days later I started her rebuild in earnest. I ordered new wings, which was the largest component of the rebuild. I also received the midnight blue Ulracote and redid the areas I had coted before in insignia blue. I believe the twisted right wing was the cause of Cornell #2 crashing, but I cannot be sure. I had found that the cowl is on backorder, and I did not reorder the hatch yet. So here's the rebuild!


Rebuilt the firewall and remounted the motor. Old broken firewall to the right.


Put a fresh sheet of balsa across the bottom of the forward fuse. I ended up having to grind down the forward 1/2 inch to accommodate the cowl. I also rebuilt the battery/motor/ESC shelf.


Stripped the cote, built up the fuse where the cowl screws tore it out. Did this to all 4 screw sites, 2 each side. I ended up cutting off the forward part of the shelf just because. The cowl edge (the top curved thing) was toothpicks, put it back together piece by piece with CA. Lots and lots of CA.


Recoted with the proper midnight blue Ultracote.


The other side, recoted.


Picture of the cowl after sanding. Cracked, smushed, but nothing separated. In the background you can see the old insignia blue cote on the fuse. Removed it and recoted with the midnight blue.


Using the closest blue I could find, after sanding, epoxy to the weak areas,  I painted the cowl. Not perfect, not bad at all!


Managed to preserve the numbers.


The gloss black came out great.


Finished the wing today. Installed the servos (easier, kept them on their old plates), epoxied the halves with the center spar in place.


All done! CG was a tad aft, added a little lead to the nose. Thought I had pics of rebuilding the hatch. It cracked and lost spars. Had to refurbish the styrofoam. In time I will get a nice new one.


She really looks awesome!  Not bad for a novice builder, not bad. Now I am scared to maiden her... More on that as I expect to over the weekend!

Tuesday, August 9, 2011

New planes!

I took advantage of a sale at Powerlinehobbies.com today. I went looking for the 38" Sopwith PNP pack but they are out, and ended up with the "Tiny Sopwith Camel", their 26" version, and the 38" Piper Cub. These models are complete packages, less the receiver and 3S battery. I am pretty excited, especially about the Sopwith. While I would have liked the bigger one, the smaller actually has more scale features.


Will need to pick up receivers for them and then be off and flying!

Good as new, again...

The Stearman's cabane struts arrived today, so I installed the wings, bound her to the Dx8 and setup her servos. I also gave her a little down elevator mechanically (at the clevis-control horn). She is back to her most stable setup. I set up 3 rates with ailerons 40, 65 and 100, and elevator 50, 75 and 100, with 25% expo all around. I am very excited to have her back to flying form, and now that I have come to understand her stall characteristics and have taken some of the weight out, I hope her crashing days are behind her.


Up on the wall with Suicidal Cubby, Trojan 800!

Monday, August 8, 2011

Trojan Horse

Today my new (okay, Luke's new) Airfield RC 800mm T-28 Trojan arrived from Nitroplanes. I had felt done with foamies, but wanted to get Luke something inexpensive and small. I also wanted something small and stable to do carrier landings with my arrestor system. I liked the price, look and model of this nice plane so I ordered it. I just looked at possibly getting another one, and they are already not-in-stock!

Wow, so far I am quite impressed. The foam feels denser than other EPO foam. It is painted with a grey paint that lies down nicely and even seems to strengthen it. It gives the plane a nice texture. The decals/stickers are applied nicely though  they do wrinkle up a littler here and there, but are easily pressed back in place. The parts pieces are nicely formed, the hardware seems to be of very good quality. It was incredibly easy to put together, though the instruction poster (nice looking) wasn't as informative as it could be.


Das box.


Unboxed. The parts were formed and finished exceptionally well.


I really liked these control horns. They had 2 different kinds of legs. Two were posts, two (diagonally opposed) into which the securing screws are secured. Easily positioned, easily screwed together! There were two sizes of screws, which might be lost on a novice builder. The longer ones go in the forward holes, the smaller ones in the more aft ones.


I thought I'd share this simple tool I bought from Harbor Freight for about a buck. It is for loosening C-clamps. Using the old idea of taking fuel tubing to secure a clevis closed on a control horn, I use this tool to get it on.


I stretch the rubbber band over the tines, and then push it easily over the clevis. 


There it is, on one of the aileron clevi.


I thought these were ingenious! This is the landing gear attachment. A snap lever opens...
\


An end of the gear wire slips into a hole under the space on the right...


The gear is pushed back and the snap lever is pushed over it. There is a piece of the wire angling 90 degrees, under the two squares on the right of the block.


These are the aileron servo wires coming up through the center of the wing.  I use the Eflite technique of tying dental floss across the connectors from the ailerons and the Y-connector to secure them.


I installed a Hobby King Orange reciever and satellite receiver.  I set it where I had to, trying to keep the antenna away from the ESC... The satellite runs back into the hollow of the fuse, between the elevator and rudder servos. The elevators have separate control horns attached to a single servo. The rudder control rod runs aft, the steerable nose wheel control rod forward. The 20amp ESC I secured in the center. You can see the battery as the left (forward) most object in the compartment. I happen to have a bunch of 2S 1000 mAh batteries with the little red connectors from my days flying the Walkera fixed pitch helis. Excellent!


All done! I am worried the wheels are too small for our grass field and I may need to try putting the old Alpha wheels on her. Not sure that will work. I may have to accelerate my plans for the foam rubber runway.


I painted the prop tips white. I'll pen in a red stripe tomorrow after it dries well. I bought two extra props and also painted them. There is very little clearance between the prop and the ground... Another issue with taking off from a grass field.


I plan to take her out to BMF in the next couple of days and see how she flies. I expect she will be awesome! I am not sure what rates to fly her at. I fly the Cubby at 100%. I set up 3 rates in my Dx8: 40, 65 and 100 with 25% expo all around. I plan to start with 65 and go from there. The hatch doesn't secure very well, so I am working on a small piece of Dual Lock Velcro to secure it.

Nice plane, easy build, looks and feels awesome! CG was nicely in, a touch nose heavy. This should be fun! I think this Trojan horse has snuck into my heart!

Bigger is better!

Or so one supposes, up to a point.... Recent rains have made the grass at BMF thicker, the small potholes bigger, and the ants more industrious. The grounds crew has been doing a great job keeping up with the rapid grass growth rate, but with all that thickness etc, smaller wheels, like those on the Alpha, have trouble negotiating roll outs. In my recent video you may have seen how quickly she ground to a halt. Take offs were breatholders as she would run, and run, and run, and then just break free. Touch and go's were touch-stop and run way out then go. Once the nose gear came up she leapt into the air but getting her to Vr was tough. Any taxiing was a gamble if her nose wheel dipped into a hole. The prop cut grass (and painted her green), and she would tip head over into the dip.

Today I stopped by Orange Grove Hobby and purchased a pair of 2.75 wheels and 2.5 wheels. The smaller one is the nose wheel. Looks good, doesn't seem to have added much more weight. I did have to MacGuyver the nose gear as the axle strut was a bit short if I had collars on both sides of the wheel (its always something). I CA'd a prop adapter plastic ring to the strut and set a thin washer on. The wheel went on with just enough axle to spare to secure the lock nut pretty well.


Off with the small, on with the bigger! 2.75" tires on the back, 2.5"nose wheel. The old wheels were nose about 1.5 and mains 1.75. In the foreground are a 2.5 and 1.75.

Sunday, August 7, 2011

Fun and Games!


Having a great time at BMF today doing cross wind landings. Decided to have some fun coming across the field corner more into the wind over the trees. Thanks to Steve Burton for taking the video for me! Follow the tiny dot that becomes an airplane over the trees.

Great Sunday crowd at BMF today. I took Kenny Wilson up on the Alpha using a buddy box and he flew fantastic! He had been flying his Parkzone Cub quite well and this step up was something he was more than ready for. Great job, Kenny!

Posted some pics in the Gallery on the MCRCC website! Check them out!