The flying monkeys got me...

Helis, Fixed Wing, RC Sailing

AMA 957918

Pirate Kid Skeleton by RadDezigns.

Tuesday, September 15, 2020

New GT Power Servo Tester


My basic Turnigy servo tester is over 10 yrs old and was starting to show its age. In those 10 yrs I have also wanted to know things about my servos it couldn't tell me, like speed, dead band, etc. So it was time to replace it with an upgrade. I found the GT Power Professional Servo Tester on eBay for $30 shipped from hangarstuff4sale (gave you the MotionRC listing for detail).  I put it on a switch since it doesn't have an I/O switch, it turns on when powered up as far as I can tell, which meant it was going to need a platform, and here it is! I can easily charge the pack through the switch. Built a little box with a hatch to cover and contain the wires, used on old NiMH recieiver pack, some paint and Dual Lock and voila!

My trusty blue Turnigy tester will be hanging around for a while, for sentimental reasons. 

Monday, September 14, 2020

Walbro 10cc Carb Update

 I took the cleaned carb out attached to the RCGF-USA 10cc on the test stand.


She would not catch at all at first, but gas was going through it. Changed from the iffy new spark,mwhich was sparking, and used a good spark, no change. When I had it at WOT, she would try to run a few RPMs, but not consistently. After an hour I gave up, I was wasting a lot of gas to flooding. 


I took the carb apart, and it was full of gas. The valve sheet was rubbery. Now, the replacement kit comes with a least 3 types of material cut for this carb, one is kinda rubbery, one is this thin plastic, and another is a little thicker and looks reinforced. I have no idea which one to use, I've not knowingly used one over the other, and the blue one looks most familiar, so I went with it.


Put it all back together. In consideration of my neighbors, I don't run before 10 am, and usually not till noon, and stop after 5 pm. I will try again tomorrow. 

Saturday, September 12, 2020

Updated Engine Test Bed!

 I needed my test platform to work on my 10cc carb problems, and I wanted to update it a bit. Put a throttle servo and an Orange receiver on it, added a second battery pack so I can run longer. Added a hole behind the engine to increase air intake airflow.


Its late now, tomorrow I will take it outside and run the engine whose carb I just cleaned.

Cleaning a Walbro Carb

I've been having carb problems. Pretty much anytime you have trouble with an engine, its the carb. The ignition and wires are second on the list. The rest of it is pretty tough and resilient to problems. I have been having issues with the carbs on both 10cc engines. These little buggers have such small tolerances for mixture that any debris or clog, and air leak, can cause weird stuff to happen that causes gnashing of teeth, sore backs from standing way too long to solve a problem trying the same thing over and over again because what you are doing is supposed to solve the problem. The machines are not hard, they just are complex. You've been there, don't lie.. If there was one thing I hate about gas its that the smaller engines are so unreliable day to day. The 20cc and bigger, probably the 15cc too but I don't have any, are so much more stable. So when someone tells you gas is reliable, they don't fly less than 10cc. Remember, the engine is fine, its almost always the carb.

I use this with the little red tube to blow out the passages and soak the carb.


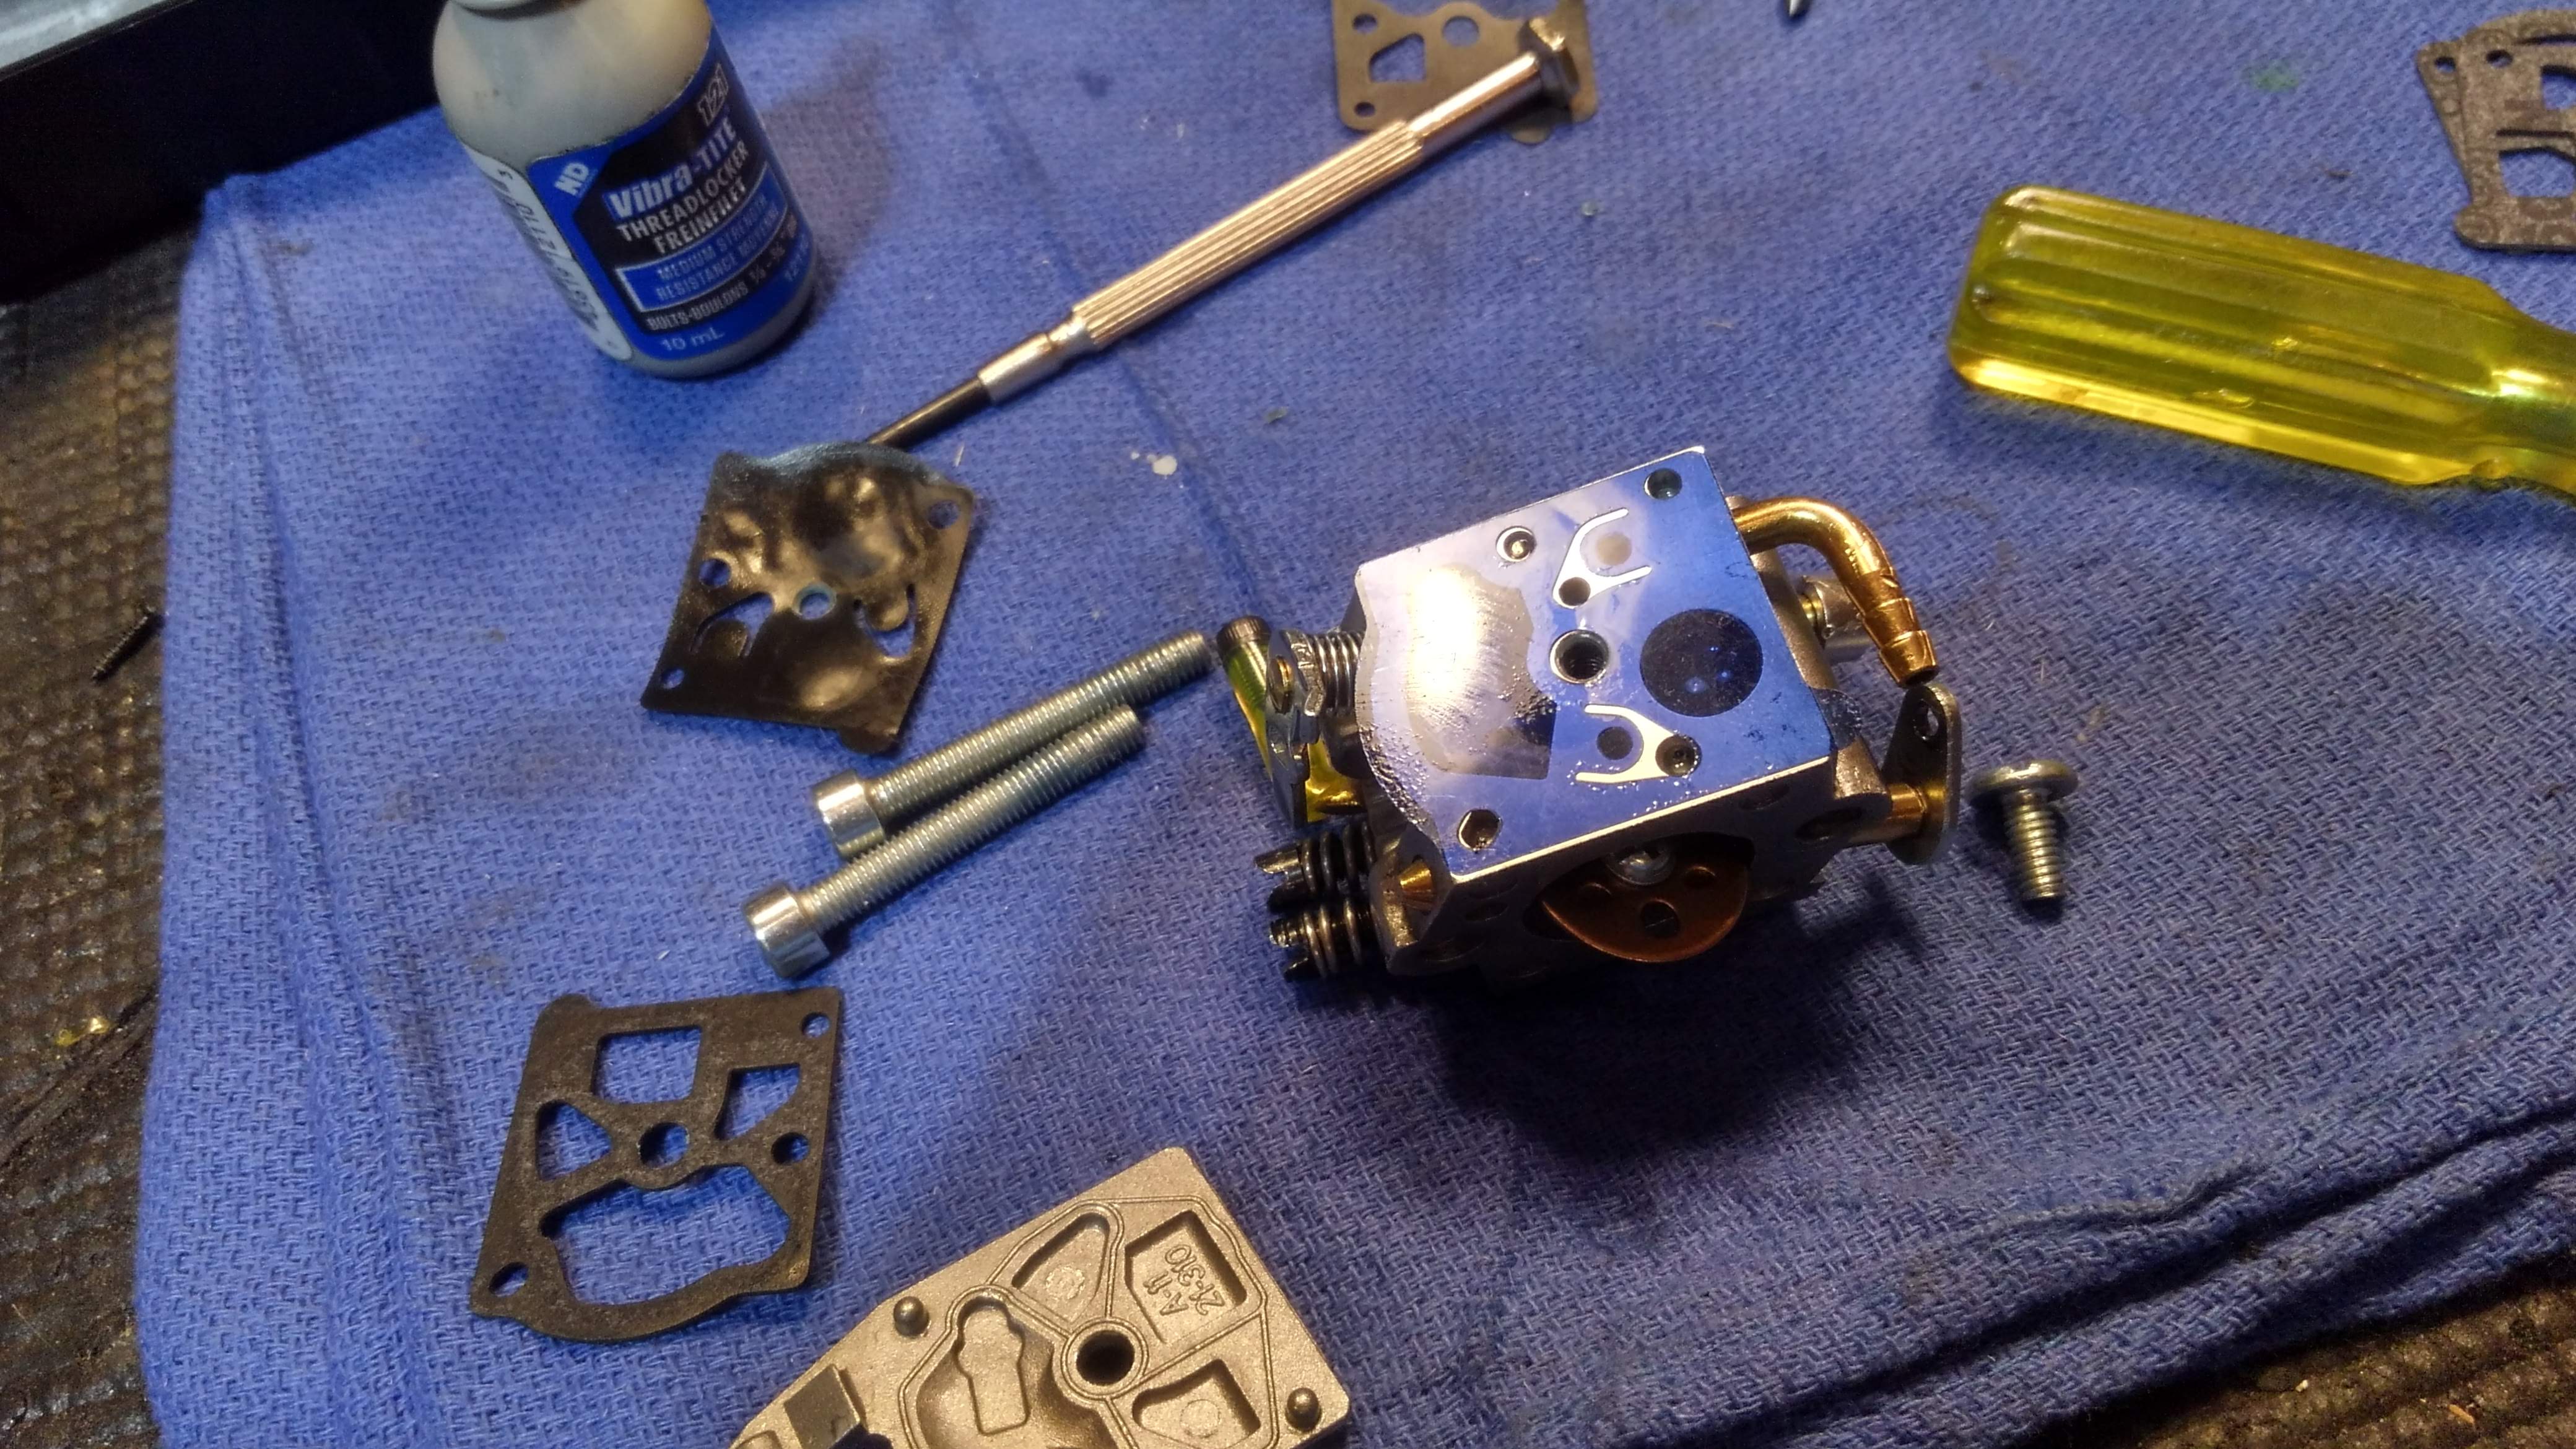
I've take the carb apart but for the valves (throttle and choke). Both the metering and the pump side are disassembled, and the needles removed, including the metering needle. I don't peel off any gasket that doesn't want to come unless it needs replacing. The pump side gasket and valve sheet are fine, but the valve sheet might use replacing if I get one. For now its fine. I have cleaned everything thoroughly with carb cleaner spray, blowing out all the fuel pathways, soaking the carb to let any build up break away and flushing it again. I cleaned all the gaskets and the valve sheet with the carb cleaner. Carb cleaner melts gloves, by the way...


Here I reassembled the metering needle. Getting the metering spring under the round depression in the metering lever is challenging, and it must be properly seated. This will be the only frustrating part of the process, be patient. I use a flat micro driver to hold the spring compressed while keeping the lever in the head of the metering needle, and the hinge bar in its slot. Takes a few tries, and a couple of rounds of searching the floor on my hands and knees for a launched spring, but in the end it gets where its suppose to be. I don't Loctite the metering securing screw. Snug it in nicely.


Someone will happily sell you a fancy tool but any rigid piece or your Mark 1 Mod 0 Eyeball does just as well. The top of the metering lever should be exactly level with the top of the carb case. The other end on the needle head should move the metering needle noticeably when the lever is depressed, it is either open or closed. I find that the lever is only slightly bent when set properly. If this is screwed up the carb will not work well.


The metering diaphragm goes small washer thing side up. It should rest pushed out by the metering needle, Tapping it should have a nice range of motion and a quick rebound. If not the spring is likely wrong or the lever is not adjusted properly.


The metering cover is in place.


There are lock washers, but I still Loctite the screws, all of them except the metering hinge screw. I screw these down gorilla-tight.


Pump side. Gasket goes out, the valve sheet in, so that the flapper valves cover the fuel pump holes they are assigned to. Those are all the passages I blew out with carb cleaner. All of them.


Pump gasket and valve sheet in place. The valves should lay flat over the fuel holes they are assigned to. If not, the valve sheet should be replaced.


Pump side cover in place. I Loctite and gorilla-tight this screw. Make sure the gasket is properly seated, there are posts that usually assure this that pass through the gasket.


The fuel flow needles. They are different. The long skinny one is the low speed needle, the fat shorter one the high speed needle. They also have their own sized springs.


They go in their own holes. Seat the SOFTLY and completely. Walbro recommends both needles out to 1-3/4 to 2 turns as the starting point. You will need to adjust the needles. If you know what they were set at before you can try those settings.


Here the low is set to 1-1/2, the high to 2 turns.


The gasket between the crankcase and the carb is essential! It serves to prevent air leaks both ways, and to insulate the carb where the magic happens, from the heat of the crankcase/cylinder where the violence happens. Some engine use a spacer here to improve that insulation. I coat it with a thin layer of red grease.


There is a vacuum hole on one side of the carb, you can see it here. If your gasket has one small hole, it must be lined up with this passage or the carb won't work. My gasket happens to have two holes, one is vestigial.


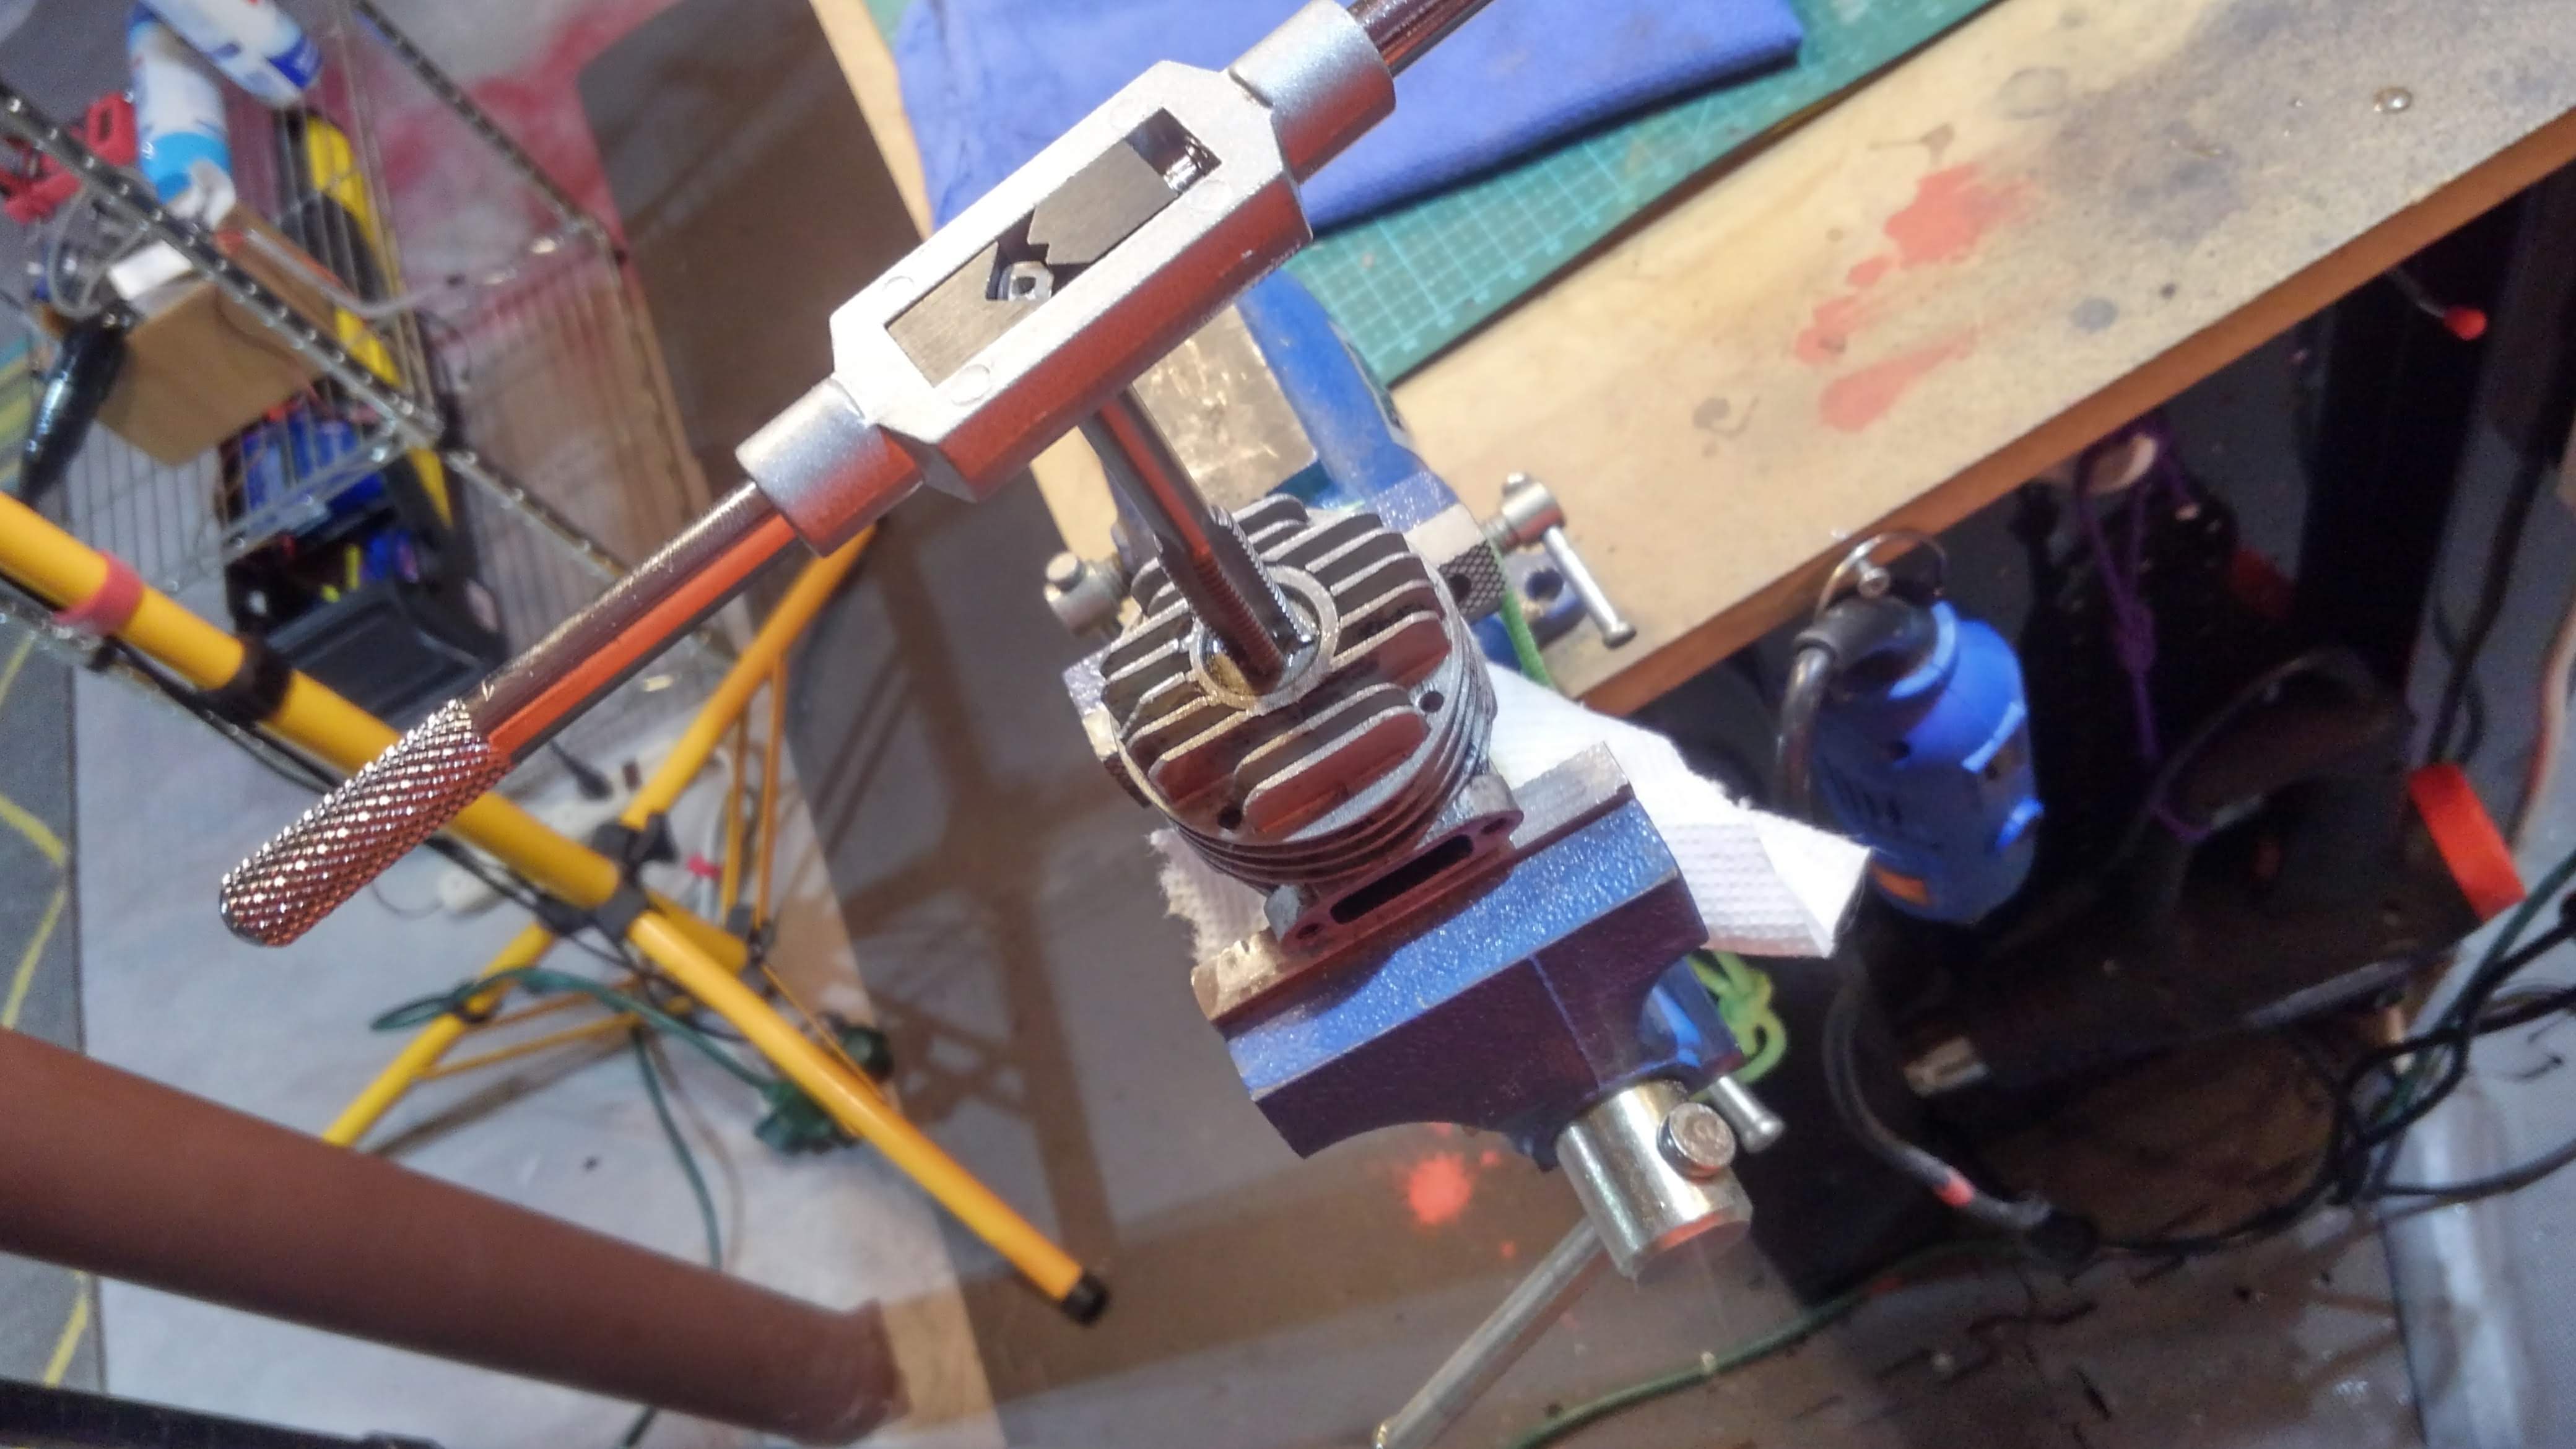
Secure the carb to the crankcase being sure that the gasket is properly aligned. Use Loctite and again, gorilla-tight! The process is completed. Next, putting the engine on the improved test stand. I hope this cleaning solves the low needle/idle and acceleration issue. I gorilla-tightened all of the cylinder screws I could reach (two are blocked by the muffler screws, yep, Loctited and gorilla-tight).

Friday, September 11, 2020

RCGF10CC Blues

First, the success. I have had problems with the soft metal of the spark plug hole in the cylinder of the RCGF 10cc engines. In the past this required buying a new cylimder head for about $55. This past time I was sure someone made something to fix this sort of thing. What I found was that someone had made an adapter to go from a CM-6to a 1/4-32spark plug, for a huge savings.


I had to drill from about 6mm I think to 8.5mm, then tap it to 10mm.


The adapter is steel, so I won't be stripping it.


Installed, sealed with JB Weld used as a sealed. Cleaned out the cylinder with steel wool and carb cleaner. I set it aside for a week or two as I had other things to do. I wasn't sure this was going to work, even though it was clear people have succeeded to do this.


The good news, the success, is that it works! But this is also the problems. Plural. It wouldn't startat first. Turns out the new spark plug didn't spark. I pulled the older sparky from the other RCGF 10cc engine (more on that later). Then the carb wouldn't give me a decent low, or a decent high, instead of producing the expect 5 lbs of thrust it rarely made 4 lbs. Then the ignition plug wouldn't stay on the spark plug, so I had to work on that. It sounds good in the video, using the 13x8x3, but it just stops. So the thrust is low at WOT, and the idle is too high or it won't accelerate. This isn't an engine issue, its a Walbro carb issue.

But, hey, the adapter works!

I plan to take the carbs apart, clean it, and try again. The other RCGF 10cc engine has a great high end, producing 5 lbs of thrust. But the low is still too high, changing the throttle low end point cause it to stall too low, or run too high, or quit when accelerating. The usual adjustments didn't do what one thinks they should. I tried stepping it up a point at a time and then all of the sudden it wouldn't accelerate.  Its either too lean or too rich to run. In addition to cleaning the carb, I will snug everything up for air leaks. Remember, these engines used to work just fine!

I won't give up.

Thursday, September 10, 2020

That Wireless Trainer thingy really works!


Just as I was having second thoughts about selling my DX8 (nice back up radio), Jon Kimball asked about it and bought it. He lives in Londonderry, so it was a local sale. His FIL is getting him into the hobby, gave him a couple of planes, so this was a perfect first radio. 

Since we were hooking up to deliver it and he lives down the street from the SNHRCC field, we met there. He brought his FIL, Steven Hooski. Since Jon is a newbie, and I have  great trainer, AND I wanted to see if I could do Trainer mode on the iX12, AND because I wanted to fly, AND because I knew he would benefit and love doing it, I brought the Alpha Sport 450 and 11 packs out to the field. The last 4 were sketchy for a couple of reasons... more on that in a second.

We spent some time going over airplanes and flight controls, the radio, receivers, etc. And then set up to fly. A few adjustments, this was pretty easy to program. I thought that the wireless Trainer mode took all the settings from the Master, the iX12, but I had to make a couple of sub trim adjustments on the DX8. This took no time at. all.

On the first couple of packs I took off and let Jon get the feel for the controls, and he was quick to adapt. He was a natural, showed good insight, understanding, so we discussed take off and on the 3rd pack he took off. I landed and he did it again, getting several cycles in. So I offered to land if he set up the approach. He was doing so well that on final I offered a little advice and suggested he continue to land. He aced it. Suggested he turn around on the runway and take off, fly the pattern and do it again. We had him fly the last 3 packs all by himself with my finger on the Trainer button. We chatted, but no advice required nor given, he did it all himself! He seemed pretty excited and really enjoyed it!

I flew one pack when I gave him a break, taking the Hacker MX2 up. After he was done flying, I planned to fly the Eflite Stearman on a few of the 4 Horsemen packs. I had stored these at 4v by accident for over a year, recharging was too fast, I figured they would be weak. I was in a rush to meet Jon, so I just packed them up. At the field I found them under-powered,but one was close. I stupidly took the Stearman up, and she flew weakly, landed a bit roughly (just a bounce), but I decided having gotten away with it I wouldn't fly the other packs. When I got home I ran them down to 3.7 V and will see if they recover.

Jon is supposed to send me a pic since I didn't take any, but he's failing me. He has his AMA and he and Steven joined SNHRCC! It will be wonderful to see them fly!

UPDATE: Jon came through! Pic at the top.


Thursday, September 3, 2020

450's are UP again!

 Finished up the 450's today, the Flybarred and the Flybarless (FBL) today?


I always take new parts apart, including this flybar assembly. I greasevthe main bearings, and locktite everything. For $17 it pretty darn good. Its a Hausler 450 Sport SE V2 flybarred rotor assembly I bought from 2013-topking on eBay. Curiously it says the part was shipped from NJ, but they are in Taiwan or China. Either way it only took about 10 days or so to arrive. The assembly is solid and tight, but it did have a couple of issues, the flybar paddles were nearly impossible to get on, hence the lighter. I tried melting them on. Eventually a lot of elbow grease I got them on. One of the rocker arm screws tightens but feels stripped.


And this happened. The swash came apart simply moving it. That rotating part that connects to the swash follower arms and the pitch control arms should be firmly ensconced in the swash bearing and rotate freely. The swash ring is held in place by the antirotation elevator contol "ball" that fits into the antirotation support. Yeah, that's a fatal problem. I had to replace it with a swash of my own. The elevator/antiroation "ball" are mine, the installed one was way too short.


My swash and the Hausler flybar assmebly in situ.


Leveling the swash, the assembly is fully installed.


Setting up the swash mechanics old school!


All set! This has the old EXI frames, but everything has been replaced, so, is just an Align clone now with an Align GP760 gyro.


The Flybarred and Flybarless 450's.


Reprogramming the ZYX FBL stablization system. I was using a program called FBL Programmer, but found the later Tarot version, displayed here. This is the original stablization system, since replaced by the ZYX-S, an updated version.


The clone HK 450 FBL is all set up and ready to test!

Tomorrow I will test them.