The flying monkeys got me...

Helis, Fixed Wing, RC Sailing

AMA 957918

Pirate Kid Skeleton by RadDezigns.

Saturday, June 14, 2014

Holy Mother of Dragons! MX2 Power Tested!

I really have to question HobbyKing's motor ratings. The Turnigy Rotomax 1.40 is rated to 10S for 2775W and 120A HV ESC (I went with 100 A, rethinking that now). Today I power tested her...

This thing is going to rip its wings off if I ever give it full throttle.

It drew a peak of 98 amps making a peak 3720 watts on 10S with a 20x11e APC prop in static power testing. She nearly pulled me off my feet. At half throttle she drew 18 amps and 700 watts. Her all up weight is 12.5 lbs, so about 1250 watts for aerobatic flying using the 100 watts/lbs rule-of-thumb. At full throttle thats about 300 watt/lbs! She is a dragon! I may need to pull back to 8S. Time testing she gave me over 10 minutes, so I stopped and set the timer for 8 minutes.


The aft vent louvers in place.


The baffle that generates the low pressure pull behind it. I have since tightened up the cote.


In situ.


All up!


Fly fearless, my ass... she scares the crap out of me!

CG'd tight, so much as a mm of battery movement fore or aft dramatically shifts her. Marked the best placement. Hoping to maiden her tomorrow!

30 size Goldwing MX2 Done!

I finished the MX2 today, well, short of installing the aft vent. It wasn't without its challenges, as we say, there's always something.


The Turnigy Rotomax 1.40 Glow/30cc Gas equivalent motor is the biggest one I have ever put on an aircraft. Capable of 2775 watts, its magnormous! The motor mount is from DuBro via Tower Hobbies and is designed for gas to electric conversions. The Rotomax has 4 screws that hold the back-plate to the motor, and they were off just a smidge from the bolt holes on the mount. So that took some work. The mount is set at its shortest length and the motor fits lengthwise PERFECTLY! There is 1 mm between the cowl and the prop back plate, perfectly centered. I also had to work hard to get the mount centered and drilled new holes to mount it. It overlapped the gas mounting holes a tad as you can see in the pic.


Side view. Its big, I tell you, BIG! I will be flying it 10S with 4500 mAh, (two 5S 4500 in series). She will turn a 20x11e APC prop guided by a FunFly HV 100A ESC, which I programmed today. 


I also did a really cool receiver power setup using a 2S 2200 mAh LiPo battery and a Miracle switch from TroyBuilt. I ran the 2S balance plug through the fuel dot!  To do that I had to cut and extension, run the wires through the dot, and solder them back together.  Now I can charge the LiPo through the JR plug and balance it at the same time. I thought this was pretty clever of me!  I can, of course, do the same thing through the removed canopy, but this was fun to do.


In position just aft of the cowl on the right side where the original ignition/receiver switch set was.


I used a rubber band to hold tension pulling the plug back in the dot. I can push it out for use. I have a 2S JXT extension and a JR extension that will allow me to charge the pack using my LiPo charging station.


A view of the forward compartment showing the main battery bay (Dual Lock Velcro) and the switch set, and in the middle, just aft of the wing tube (and unfortunately then, the CG) the receiver battery. I could have bought a NiMH pack, but I have a couple of 2S 2200 mAh receiver packs for my helis so I just used one of them.


The aft vent, on my carefully chosen styrofoam painting table... Install in the am when its dry, and the plane is done!


Smile!

This has been a major project, from repairing the wing to converting it to electric.

Looking forward to "maiden" flight in a few days! Full up picks soon!

Tuesday, June 10, 2014

"Closing Up" a gas engine opening on the MX2

The MX2 was first built and flown with a DLE 35cc gas engine. While the model is advertised as gas or electric, Kenny's experience was that it couldn't handle the vibration and stresses a gas engine creates. As I reworked the airframe there was clear evidence that the previous owner also had issues flying it gas. With this is mind I am rebuilding it as a very powerful 10S electric with a Rotomax 1.40 electric engine.

This left the large opening in the bottom of the cowl that used to allow the DLE cylinder head and Pitts muffler exit the airframe. I had an idea to close the opening, with some residual low airflow, but opted instead to set it up with an air dam system to direct high flow air through the airframe. I will have to also make a louver opening aft to allow the high flows to exit. That's for tomorrow.


Yeah... go ahead, say it. That's one Johnson of a hole underneath the cowl.


From the inside.


First I mapped out the hole and created a template. The drawing underneath is the first design. These are tongue depressor craft wood.


Allowing CA to dry. Since the wood tends to be acidic, the CA can have a problem drying. Using CA activator can speed the drying. I don't have any, so used some isopropyl alcohol.


I created a jog out of triangle wood. It keeps the angles and spacing consistent.


And does a nice job!


Build finished. Inside...


Outside.


Test fit. 


I decided to turn it around. This is after painting.


Finished!


Clean lines. Each louver will create a low pressure behind it drawing air in.

This motor will draw a low of power and create a lot of watts, so this extra airflow will be critical. Tomorrow I will work on the exit louvers. The electronics should be here as the week ends. This plane is really looking great, and is going to fly like a madman; they system should create 2800 watts!


A Main Hobbies is coming to our fly-in!

The MCRCC fly-in in Gulfport is this weekend. As a special treat the A Main Hobbies flying team will be there! Join us!


We Want You To Fly With Us

A Main's Traveling Flight Team

The A Main Hobbies' Traveling Flight Team will be on the road May through August visiting over 75 flying fields and several of the hottest fun flies; we hope to see you at your local flying field.Learn More

What We're Giving Away

When Will We Be In Your Neighborhood?

Here are some of the flying fields we'll be attending in your area.
June 12, 2014 - Middle Tennessee RC Society (Nashville, TN)
June 14, 2014 - Birmingham Helicopter Modelers (Birmingham, AL)
June 15, 2014 - Mississippi Coast RC Club (Gulf Coast, MS)
June 18, 2014 - Heli Jam (Tallahassee, FL)
June 19, 2014 - Stone Mountain R/C Flyers (Stone Mountain, GA)
June 20, 2014 - BCMA Club (Cartersville, GA)
June 21, 2014 - Georgia Model Aviators (Ball Ground, GA)
June 22, 2014 - Hill Top Flyers (Loganville, GA)
Check our full schedule to see when we will be in your neighborhood


View Schedule

We Encourage You To Share Your Experience

Share your photos, posts and tweets with us by using hashtag #amainheli14. We can't wait to see and share the fun with each and every one of you. Be sure to stay up to date with our travels on Facebook, Twitter and Instagram.
Follow Us On TwitterFollow Us On Instagram
Click here to unsubscribe.

Monday, June 9, 2014

TIdbits

I decided to build the MX2 that Kenny gave me, and last night ordered all the electronics. They should be here by the end of the week.

Kenny had described that the plane rolls out at low speeds and can catch one unwary, especially on landing. Since I could, and I think they look kinda cool, I made side force generators for it (the wings are drilled for them, the model comes with them, but this one didn't). I didn't photo the build, but I epoxied two 3" wide pieces of wood end to end to make a 6" tall SFG for each side.


The left wing is on the left, the right wing is on the right. After gluing I sanded, then coted them.
Oh... wait... that damn flag is upside down... WTF.


In the process my elderly Dremel Stylus, since discontinued by Dremel, failed... so Wally-World let me buy a Dremel 3000. Decided to go corded for the power; now need to watch my fingers even more carefully.

I also designed a baffle for the cut-out for the DLE 35 that used to be in the cowl, and decided instead to create a louver system to drive intake air up through the electric motor. I will need to build another set aft to draw the air out. Getting kinda tired of building louver systems... I finished the build and painting. Tomorrow when I install it I'll post photos!

Okay, calm down citizens... here's a preview!


Sunday, June 8, 2014

Wasted day...

It was another Africa Hot day here in Biloxi-Gulfport. Swimming throughout the air is exhausting. It was a wasted day as I did more time futzing with the engine on the 30cc than flying.

Aidan and I got an earlyish start, getting to the field around 10-10:30 this morning. There were already four stalls filled. I brought Aidan's Alpha Sport 450, my Sbach 70 and my 30cc Sbach.

The 450 hates grass, being a tricycle gear plane the front wheel gets caught up and bends and/or the plane rolls head over heels left or right. The new wheel kept bending until bending it back snapped it off. Then the cog & control horn that steers the wheel cracked (the original did too, this was a MacGyver replacement). We did get a couple of flights, but the heat melted Aidan and he was done for the day.

I took the Sbach 70 up a couple of times, flew great, not much to say.

I also tried tuning the 4-cycle out of the 30cc Sbach. No one has managed to do that, and there have been some pretty savvy people who tried. One was Jason, who offered after watching me fuss with it today, that I need to examine the carb's petal valves... We (Kenny and Jason) feel whoever owned this engine when it was new might not have broken it in correctly. Jason wonders if the petal valves in the carb have warped. He's ordering me another one, will be here Wed. I could look, but having to got through removing the engine and then the carb then dis-assembling it, why not just replace it. This could be the answer to why it persistently won't tune out of 4-cycling. Well, today she dead-sticked on me. I didn't trust her and would not go to full idle during that particular test flight. I finally did when I had her positioned on a downwind leg, and she quit as I thought she might. Easy landing.

In tuning her Jason gave me the advice about the petal valves, but Jim had me increase the trim on the throttle on the DX8 from zero, where I was tuning her, to 50%. This allowed me to increase the endpoint on the throttle servo low end to 70%, and tune in a more reliable idle! Thanks guys!

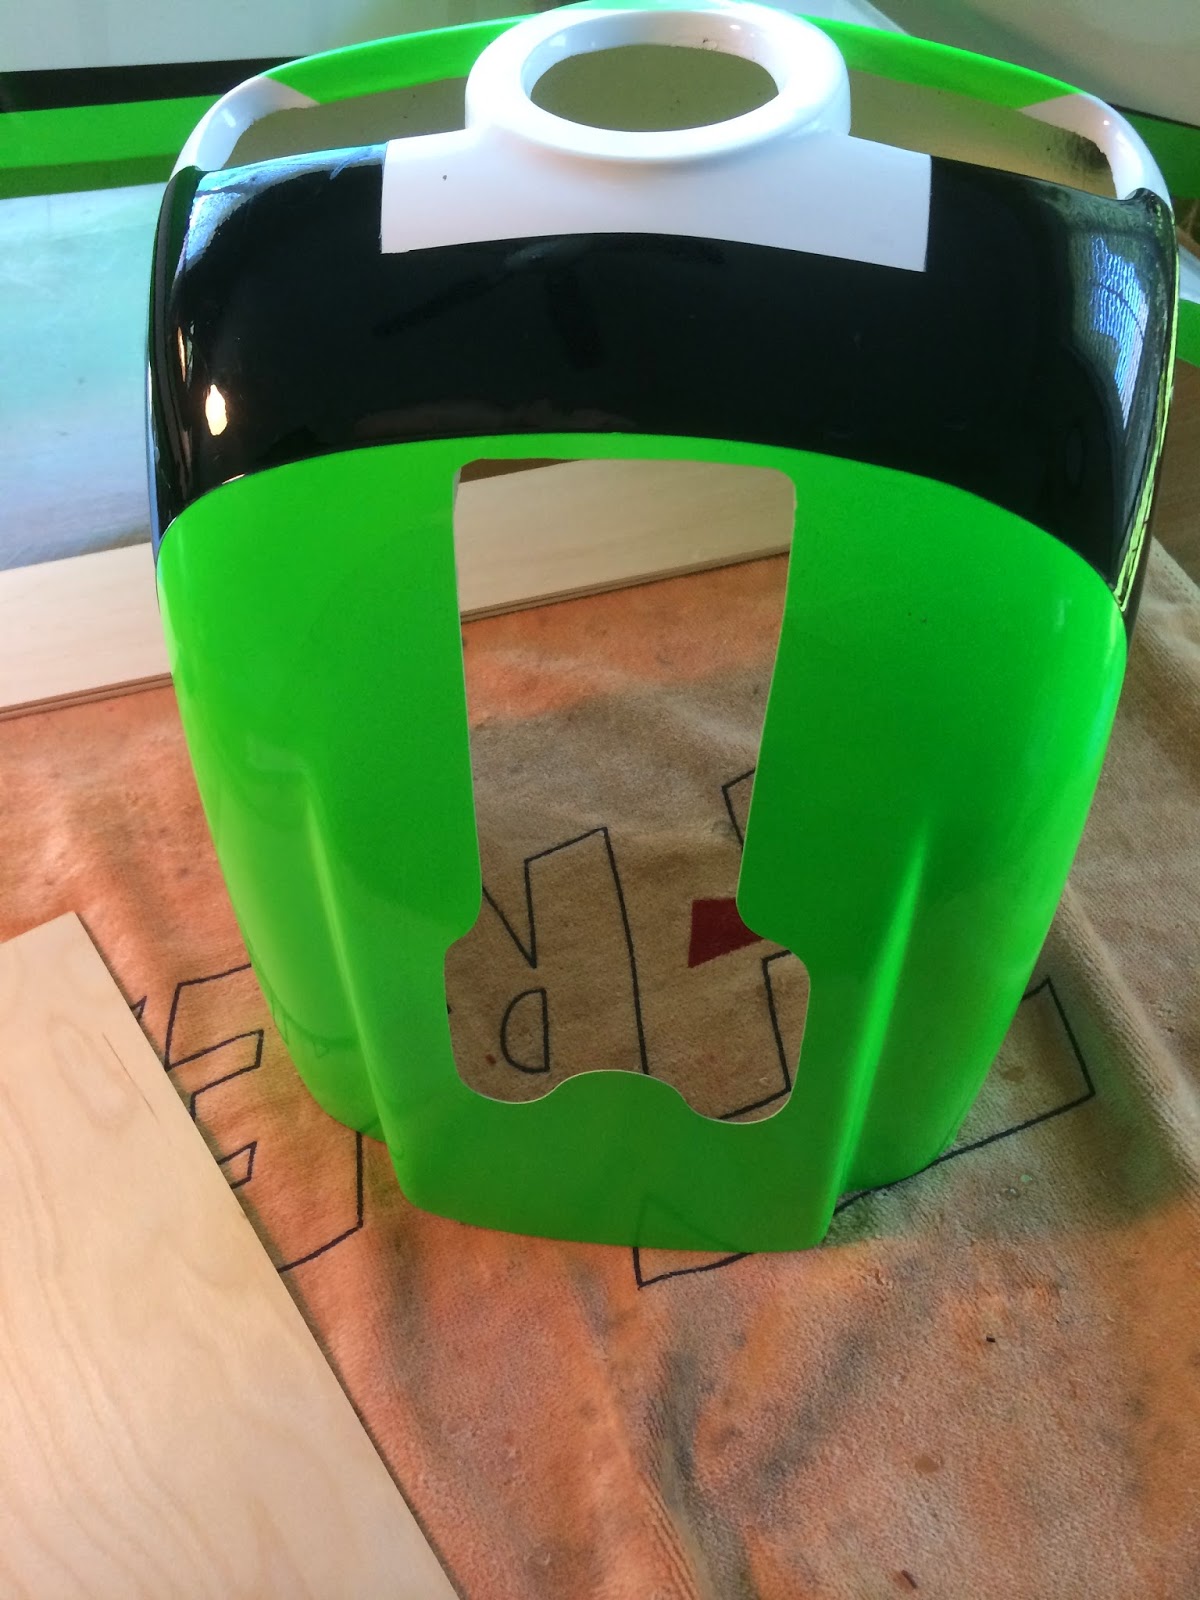
As promised, pic of the vent system. I ended up with 4 oz in the tail to balance her! I finished the vent louvers with the baffle to generate low pressure over the louvers, covering the opening where the weights went in.


Sorry about the backlighting ruining the contrast, but you get the idea of how it looks from the side. I tightened up that cote.


After tightening up the cote and laying down some electric tape to clean up the edges. I used Dual-Lock velcro at the from end, and a tab under a shaped piece of ply under the Pirate sticker, held in place with Dual-Lock. It ain't going nowhere.


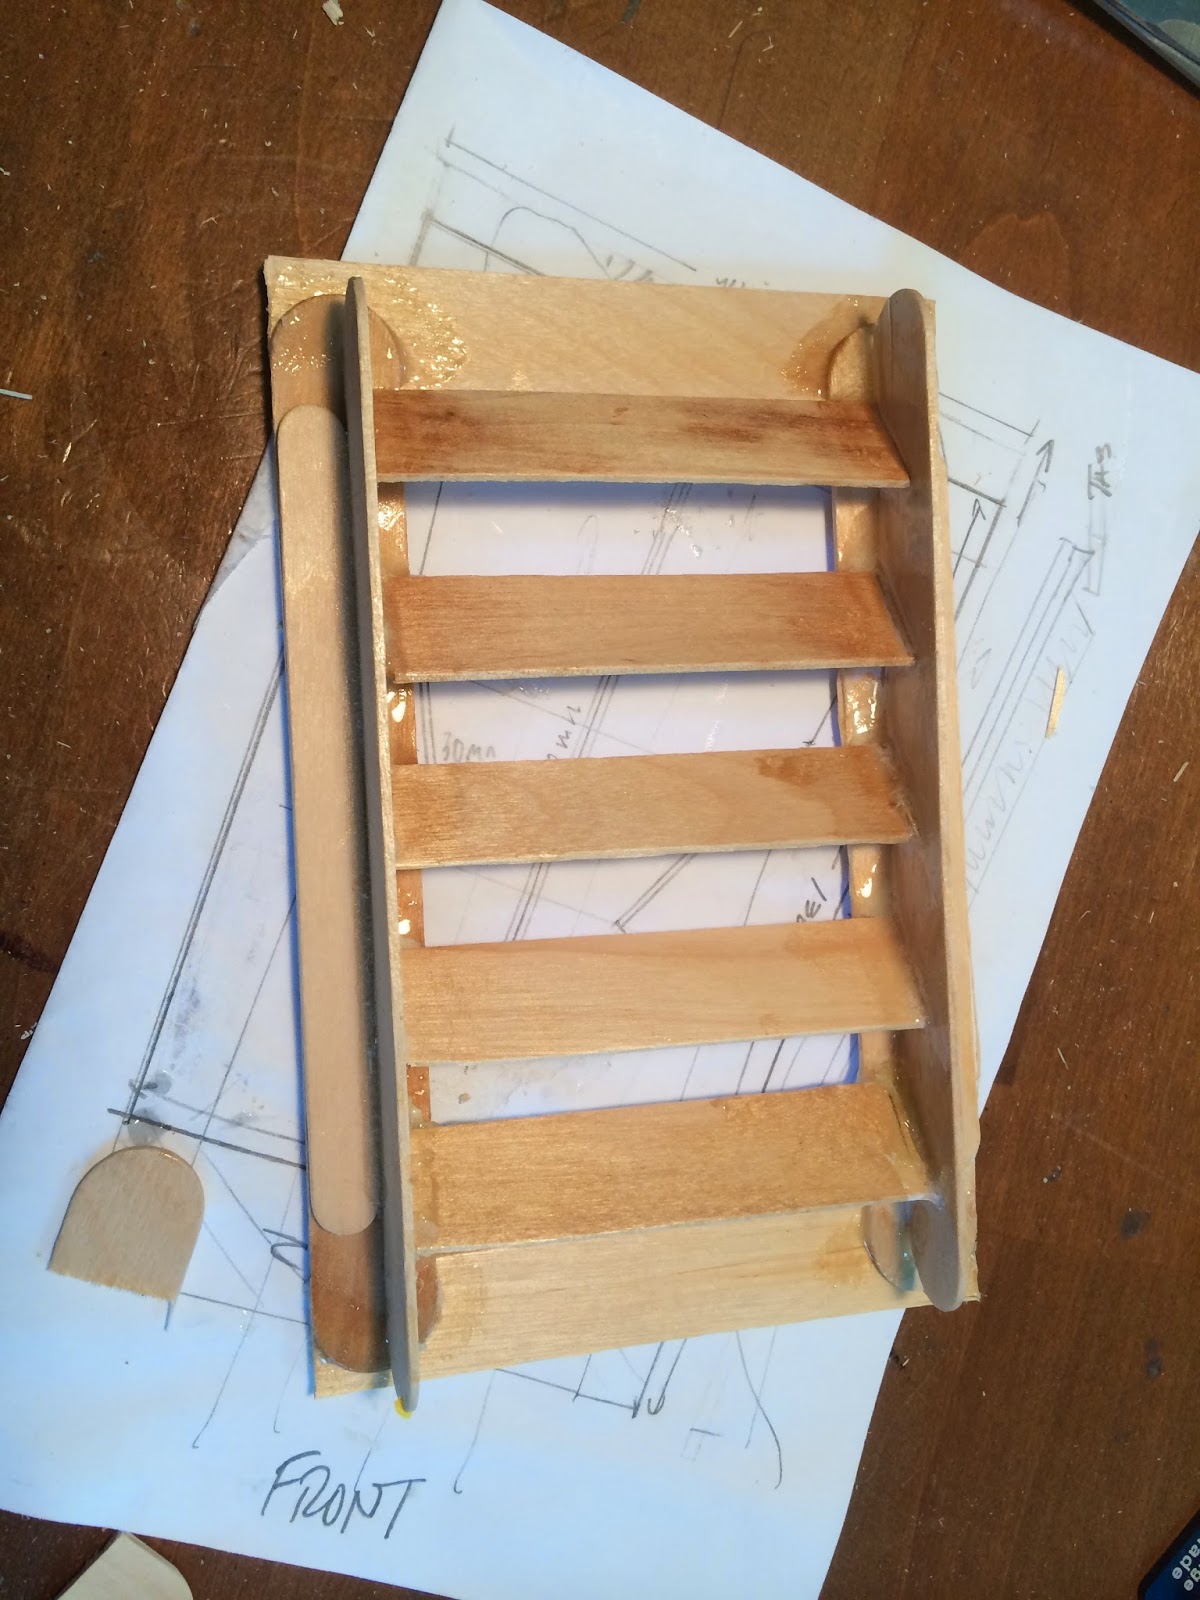
Put my AMA number on the baffle. Because I could. The baffle causes low pressure to form behind it, drawing in air through the fuse and louvers out of the plane, increasing air flow from the cowl openings all the way back. They are a PITA to make, but they are a quick manufacture.


You can see the near 45 deg angle of the louvers.

Tomorrow I may go fly again, maybe take a day off... Going to fly the 30cc as is until I get the replacement pump for the carb and replace that Wed night. I think I finally got her CG's out, but she may still be a smidge nose heavy.

Saturday, June 7, 2014

A most excellent day!

Today I maddened the electric Sbach 70, and she flew perfectly. Put 4 batteries through her as I figured out what she could do.


Skyline Sbach 70 electric.


Electric Sbach 70 taking a break


I also got the nerve up to start up and fly the new-to-me 30cc Sbach (gasoline) for four flights! She remained a bit nose heavy, and a bit rich. I think this is why she can be difficult to start. That and I haven't quite figured out how to work with the Quikfire...  No pics, dammit. Tonight I took the cowl off and removed the last weights from the nose. I also added about 3 oz to the tail, but that's what it took. I decided to open the bottom and create a louvered vent hole aft; I am making the louver thingy now. This allows me to create a low pressure zone that will pull air through the fuselage from the cowl. It also allowed me to create a shelf to put the weight in. With the cowl off she is a tad tail heavy, with the cowl on she is still nose heavy but only a bit. I think she will be nicely balanced all told. I'll have some pics of the mod tomorrow.

May fly again tomorrow!