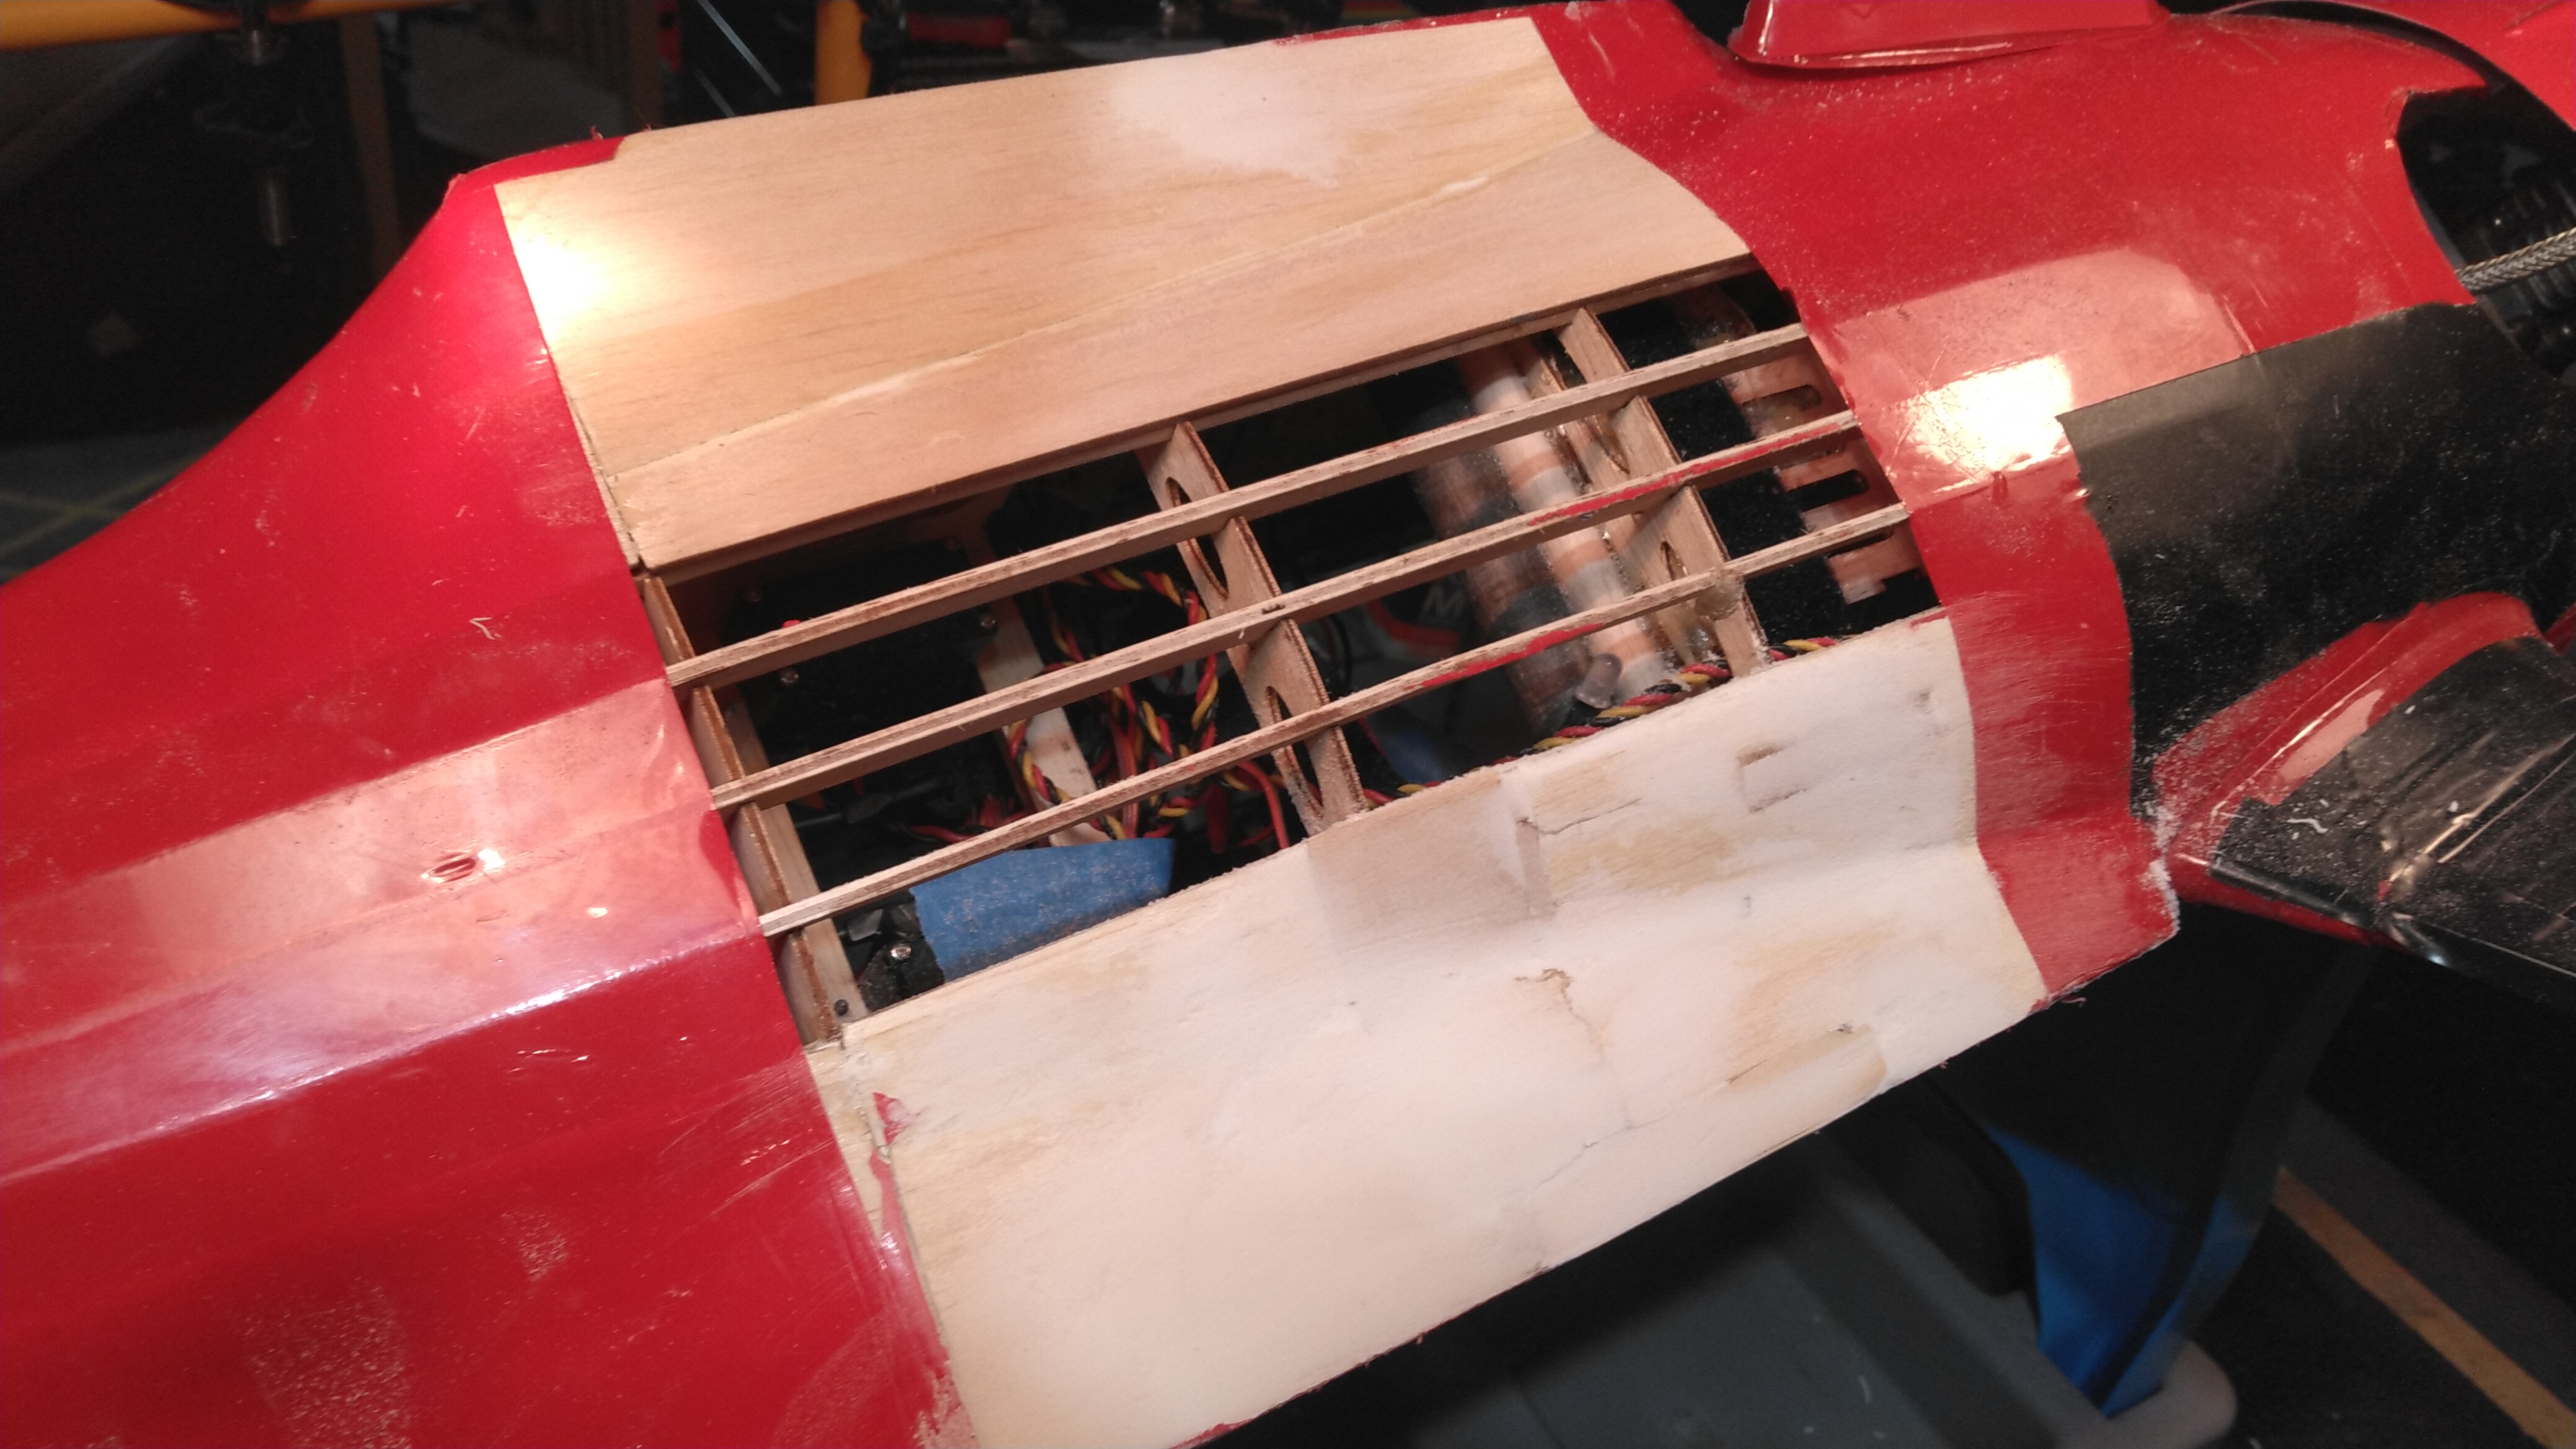
The flying monkeys got me...

Helis, Fixed Wing, RC Sailing

AMA 957918

Pirate Kid Skeleton by RadDezigns.
Showing posts sorted by date for query waco. Sort by relevance Show all posts

Saturday, June 7, 2025

My New Workshop


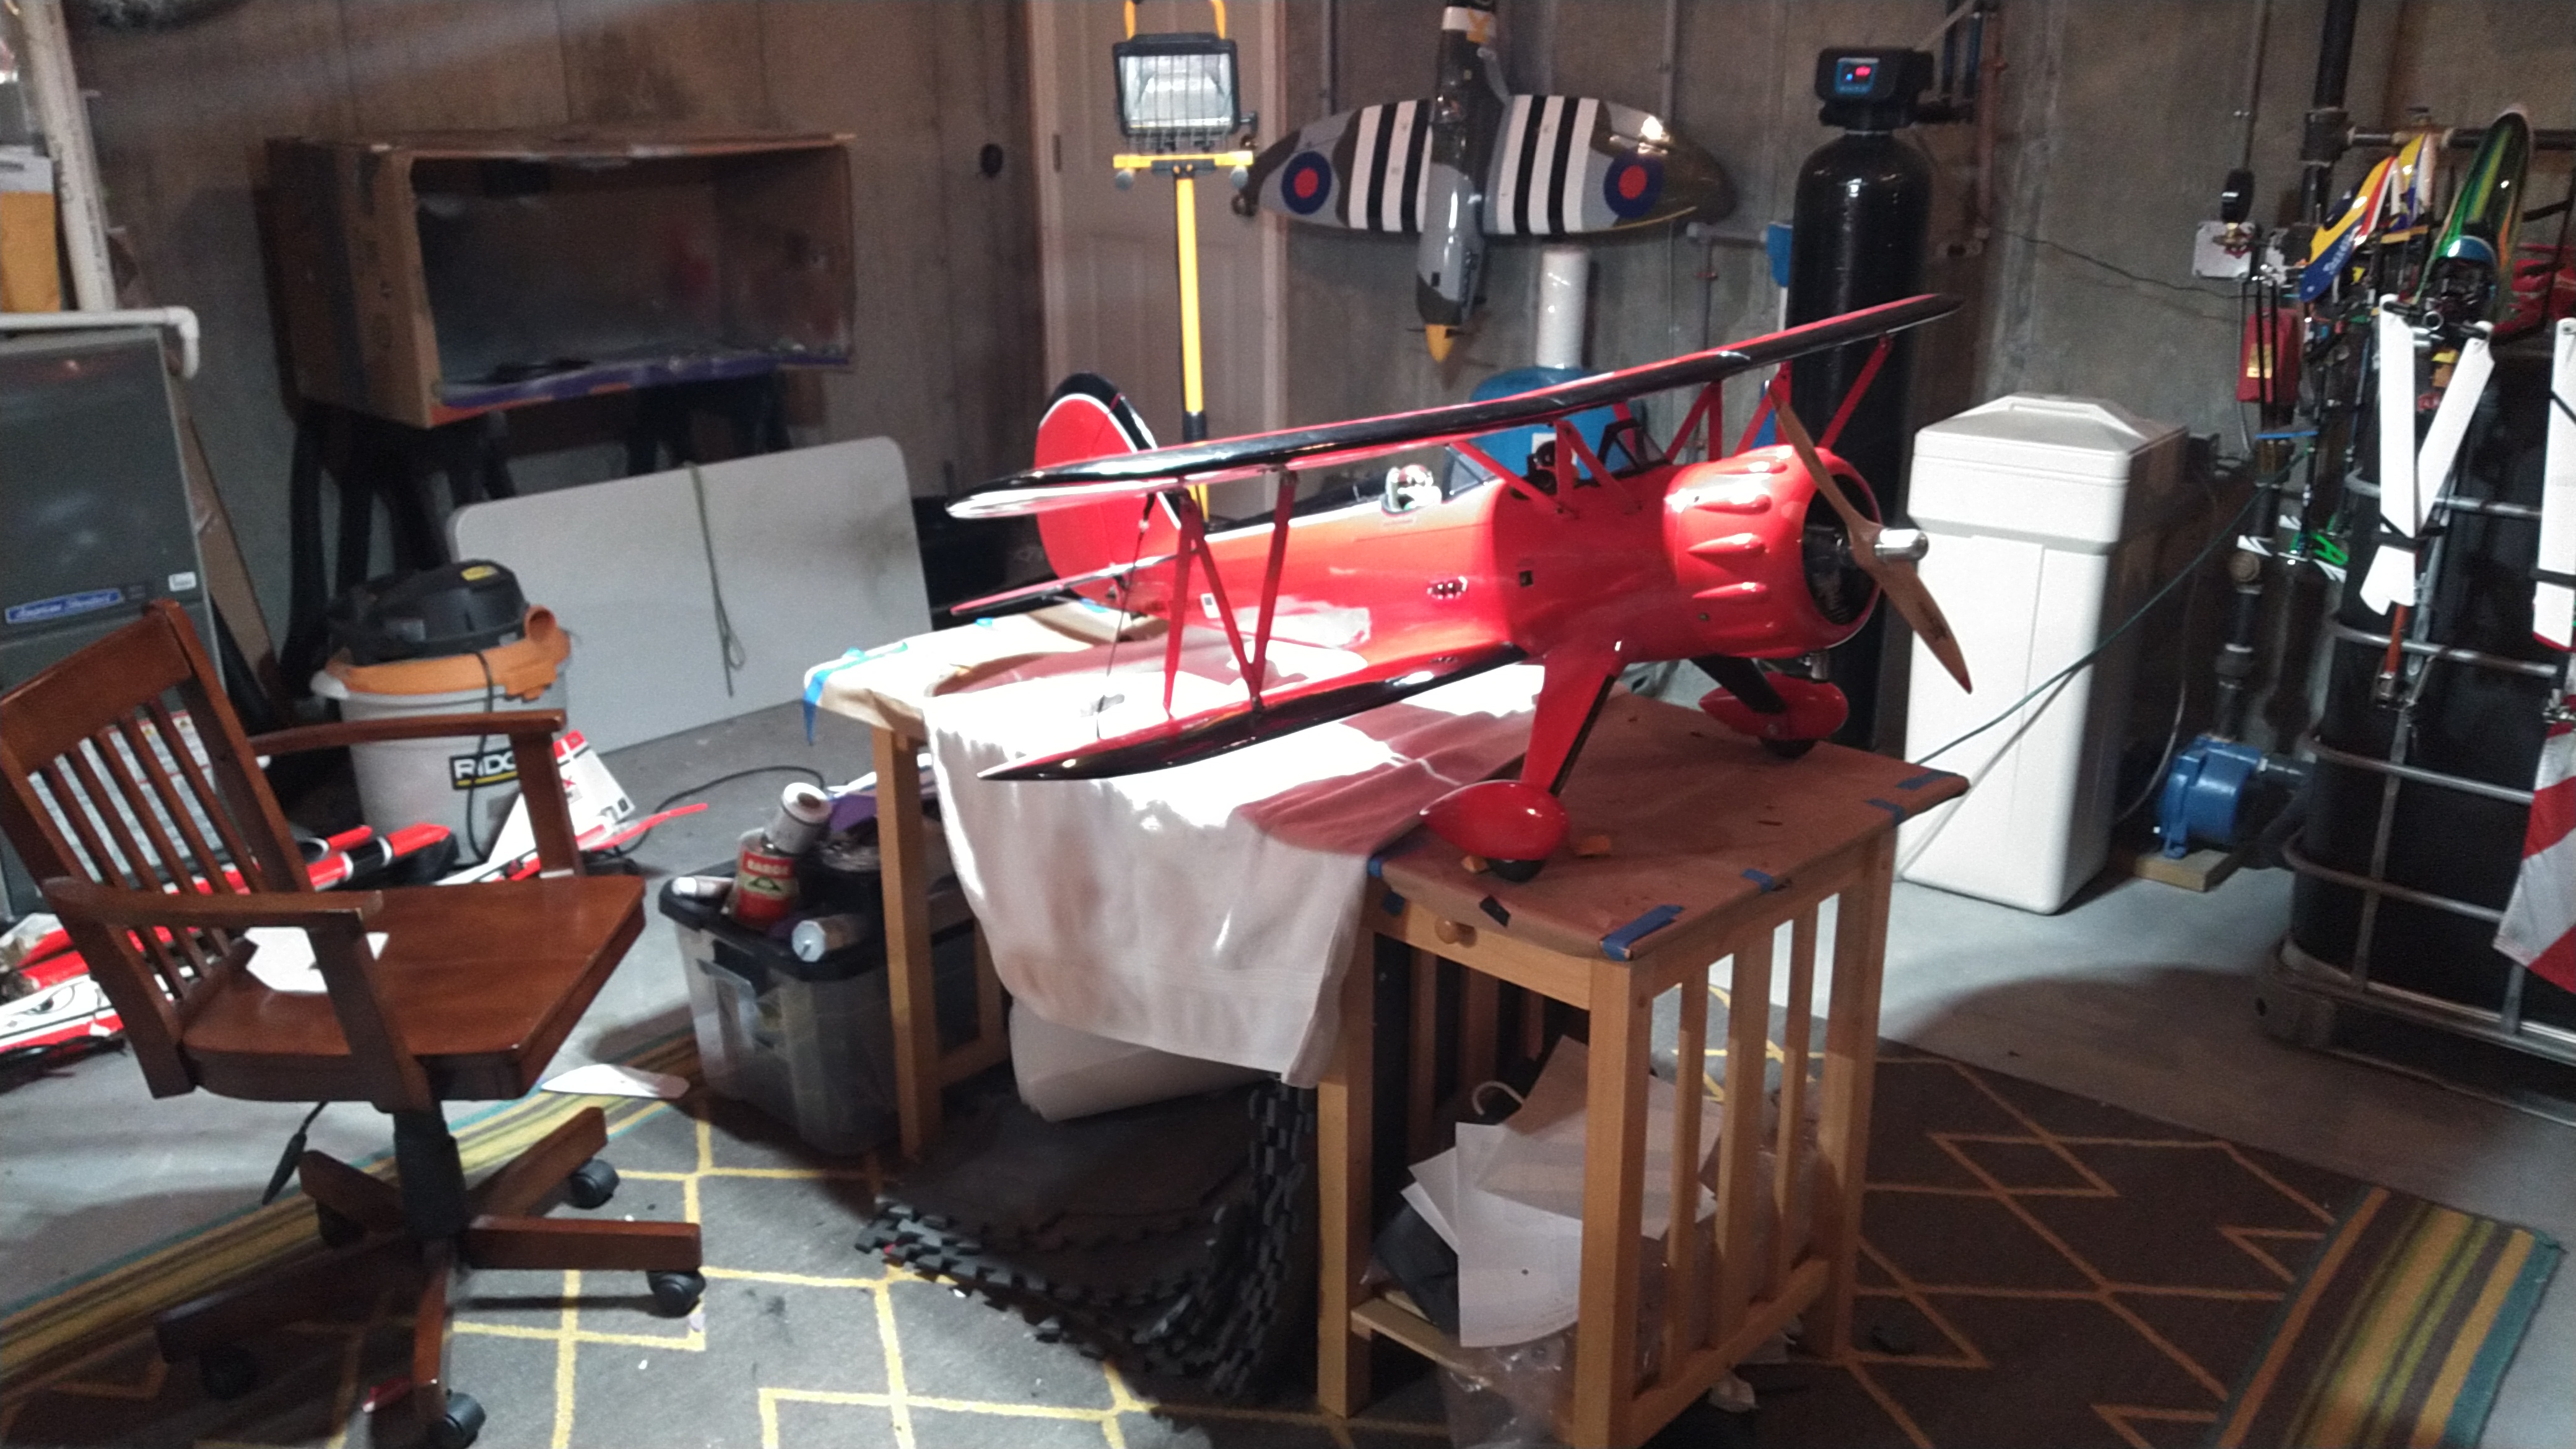
We moved a year ago, and I had not flown or worked on aircraft that entire time. Work had, and continues to do so to some degree, dominated my life. There was no time to play (isn't capitalism awesome!). Recently my wife noting my despondent mental state pushed me to just get in the garage and set up a workshop. This was complicated by its being rather full of shit, and that we had to move more shit from our storage unit into the garage so we could stop paying for it. In the process we managed to reduce the amount of shit, and I had a surprising amount of space to work with.

The floor is partly wood covered but mostly its dirt, so its going to be dusty and difficult to keep dirt out of the  instruments and aircraft. But its works, and its better than nothing.

Now I need to find an AMA club with a field I like. Of those in the area, the only one to come closest to meeting my wishes was of course, Hudson and SNHRCC. But we lost our access when the town decided (and it seems a lot of butt hurt politicians made some crap pup to disparage us) took the land back and plan to build a solar field on it. Merrimack has a nice field with a great geotex runway, but sits in a hole cut into the forest so its tight, especially out of the south end. Others are kinda far. So for now I fly out of Joppa Hill fields, but its not an AMA field, and the grass is never short enough making decent takeoffs and landings nearly impossible, esp for my park fliers.

I have had my first 3d weekend off work as a letter carrier, I was wiped out yesterday and took the day to recover. Today is rainy and stormy. Tomorrow I hope to be able to take the Waco out, and if it will fit, charge the received pack on the PulseXT60 and take her out ass well. Since I expect the grass to be too much for my park fliers, they will necessarily remain hangered.

Goals are to get a couple helis up, and I really want to start building the U10cc Ultra Stick, my all time favorite. Learned I need to keep the weight down and keep the rudder/elevator servos centered rather than the more wishful aft (looks good, more stiff and direct, but move CG aft considerably adding a ton of weight needed forward to counterbalance. This weight and a huge receiver pack as well as a generous fuel tank just added to much weight for her to fly well).

Wednesday, August 11, 2021

Hangar 9 Ultra Stick 10cc #2 Ready to Maiden!


The 2S 5000 mAh battery pack arrived ahead of schedule today. Put an EC3 and a Futaba connector on it, charged it a little and installed it for testing  the electronics installation.


All up!


As before the CG is a bit tail heavy, by 2 cm. Based on  my last experience I am not chasing it.  It required a pound of weight to get it, and I  flight it was nose heavy and I removed it, flew fine. So no adjustment this time.


The Pitts Model 12 and the Stick waiting for their maiden. The Waco telling how great a pilot I think I am.

Meanwhile, 14 days at the service enter and my Spektrum iX12 remains unassigned and on the shelf...


Friday, July 30, 2021

Nitroplanes Pitts Model 12 20cc Build Continues

The joy continues!  The past couple of days have seen some progress. Here's some work over the pat couple of days.


Put the wheel struts on. These babies are some sturdy underpants. The kit comes with some really good quality upper fairings that are made of fiberglass. I wish the Phoenix Waco had come with something like these. There's some rubber tubing to use along their edges. More on that when I install them.


Sorta on her legs. Won't put the wheels and pants on for now.


This is the Pitts next to the 20cc Phoenix Waco. When the cowling goes on she will be several inches longer.


I permanently joined the lower wing halves.


On an aside I painted the tips of the Master Airscrew 15x7x3 prop I have on hand. This is the same one I use on the PulseXT with its 20cc engine. 


Aileron servos are all on their hardpoints ready to install. These generic servos are really amazing quality.


I didn't do this with the Waco, but the YouTube video of the Pitts with a 20cc engine shows the canopy popping off despite the latch. This suggests there is some kinda internal air pressure, so I decided to put a exit vent on the back underside. I had one from a previous build hanging around.


With that "popping off of the canopy" I also wanted to add a couple strong magnets to help secure it.


That's them in the corner. 


I don't have a lot of faith in wings joined with a short wood beam rather than a wing tube, because one of my PulseXT 40's folded like a diaper pulling out of an easy loop. Since then any design with that I tend to want to put a couple layers of thin fiberglass on the underside. I peeled back the cote, taped it off, sanded it (there was an epoxy sine from the joining seen here).


Sanded smooth.


I used 15 min epoxy thinned with alcohol, painted the wood with it, laid down a sheet of fiberglass cloth, layered it with more epoxy, laid the second sheet, and more epoxy. Smoothed it out.
 Letting it dry. Once it's dry enough I will cut the edges clean and pull the tape, let it dry a day or two, then cote it after a light sanding.


This is the fine fiberglass cloth I used. It is kinda hard to work with in that it un-weaves with even the slightest traction.

Today the RCGF-USA 20cc engine arrived today! I am expecting the ZYHobby fuel tank, and the rudder and elevator servos to arrive today as well, along with the voltage regulator, so I hope to make some progress. It will be a few days before the flag-and-pin switch arrives.

Tuesday, July 20, 2021

Great Flight Day!

The weather was perfect, occasionally gusty, but right down the runway North-to-South. I packed out the RCGF-USA 26cc PulseXT 60, and the newly repaired RCGF-USA 26cc Phoenix Waco F5C. Excited to get to the field, and fly, fly, fly!


Love this plane, the Pulse XT60! It flies sweet, is fast as anything I have, with power to spare!  
SO much frickin' fun!


Since replacing the sparky the  is back to her old reliable self again. What a joy to fly!


The Waco was ready to fly, and fly she did!


I flew her for a 20 min flight, getting her trimmed out. She needed a bit of nose down trim, but roll was fine. It was a bit gusty up high, but she handled it well. Take off has to be done gracefully, slow power up, just like the real Waco. She is squirrelly on the ground with a tremendous P-Factor (that's how she ended up in the weeds last year). A bit touchy in flight, but I was getting used to her and in the end was feeling very comfortable with her.


On my second take off as I was gaining speed she caught a clump of grass and tipped enough to ground strike the prop, breaking it, and flipped. This side of our field (the gasser side) is lumpy, adding to the take-off challenges. Fortunately I have another 18x10 at home, and she is already back up.

I expect to take this duo out again next flying day!

Monday, July 19, 2021

Waco 26cc is ready to fly!

Yes! I have completed the repairs on the Waco and programmed it into the iX12 transmitter! Tomorrow I plan to get the engine running, and if time permits, get her to the club field to fly. The conditions look great.


I have admitted the complex curves with cote are not my strong point. Here I am halfway completed on the starboard side wing root, using a cote iron, and some heat gun.


It looks pretty darn good. Close up its not perfect, but that'll do.


Tank reinstalled, installed the battery tray (velcro).
Tank is offset a bit for the battery.


Aileron leads out, battery in, cozied up.


Flight ready!


In programming it I worked on the Eagle A3 stabilization system. Why does she have one? I don't know, just felt like it since the original had the doomed Spektrum Alpha6 system. Replaced that with an Orange Stabilized System, and replaced that with this A3. The gain pots are hard to adjust. I turn them up, to set the directions of the surfaces, and turn them down as low as I can, but they still seem a bit aggressive. I'll be careful. The pot screws don't move negative well. I have it set up on Flight Mode switch. 

Tomorrow, we fly!


Waco Repairs Day 3

I made a lot of progress yesterday on the Waco repairs. While my work is not always elegant, and I really have no idea how to lay down large areas of cote with complex curves, I did a pretty decent job on this project!


The port side of the fuse had one minor cote cut out where I made a small sheet repair.
You can see the reconstructed wing root surface here, painted red. I didn't feel like cote-ing over.


Managed to match the curve nicely.


This is the starboard side. this required massive puzzle reconstruction because my skill set does not include forming balsa sheet into complex curves. Its not fully apparent here but there is a continuous S curve along the side through the wing root. The patch work came out smooth and follows the contours nicely. Spackle smoothed the remaining cracks and crevices. Allowing this to set overnight before a light sanding and ironing on the cote.


As I feared, I didn't manage to align the port wing root hardpoint and its wing tab. This happened because of a curious "oversight". See that piece of vertical wood with the hold in it on the left of the hardpoint and screw? So that fit perfectly, both on the tab side, and almost on the bulkhead (you can see it duplicates part of the wood its attached to). That hole in the wood also clearly has red on it from the cardboard wing tube guide; that indicates it should be in FRONT of the tab, not behind. This assembly of the hardpoint and this piece of wood fit so nearly perfectly in the spot I decided to go with it hoping the alignment would be spot on as a result. Later I would realize that this piece of wood was certainly on the WRONG SIDE OF THE AIRCRAFT. Nothing survived of the starboard side internal attachment of the hardpoint so I couldn't match fit it, but the clues were obvious I had repaired this wrong. So, no surprise the hardpoint and the wing root tab did not align. I popped out that piece of wood with the hole in it and discarded it, and with less difficulty than I expected, extricated the hardpoint, aligned it properly and reinstalled it.


Perfect. The port wing attachment hardpoint after realignment repair. Put a cross piece between the hardpoints spanning the fuse, will strengthen this with the goal of distributing any forces across both hardpoints. It does not touch the stringers underneath.


The underside, sanded and sealed with thinned epoxy (like fuel proofing). 
Wanted to seal the spackle from moisture. The lower (port) side is the side that externally took severe sheet damage that required extensive puzzle piece repair. It came out awesome. You can see the complex curves.


As admitted, my large complex curve cote skills are lacking, but this came out decent. I applied 3 layers of cote to strengthen the underside, having decided not to fiberglass it.


The underside is also done!!!

This whole repair project is going much better than I had ever imagined. Not wanting to deal with the complexity of the repair, and worried it was trashed inside, I had set it aside all fall, winter and spring. I am pleased this has gone so well, can't wait to finish up that starboard side, put the wings on, start her up and FLY!

Saturday, July 17, 2021

Waco Repairs Continue Day 2


The wing tube was really just a pair of cardboard guides. All of the wing lift forces were transferred to the fuse only at the two wing mounting lock tabs, secured with one screw on each side used to mount and dismount the wings. Any yaw torque on the wings was transfered to the thin balsa sheeting and stringers, not capable of withstanding that. So when the weeds yawed the wings they tore the sheeting and stringers and the serious damage resulted from a light force applied just wrong. I am replacing them with a carbon fiber tube that traverses the fuse and is firmly secured in all planes. Its not going anywhere.


Ugly patch work. Replanted the formed pieces that had been attached to the cote that laid over it when it was fractured. Lots of epoxy on curved surfaces will be very hard to sand.


As discussed above, the wing mount hardpoint was more firmly attached to the port side, ripping out the entire underside it was attached to. The Starboard side mount popped without taking the fuselage sheeting with it..


I am not entirely confident that the wing mount hardpoints are properly placed and aligned, but that sucker is firmly epoxied now. I would go on to strengthen the surrounding structures for more support. 


Here you can see the carbon fiber wing spar tube being measured in place. It was nicely perpendicular to the midline. I am sure its aligned properly.


Now installed. You can see the tube is perfectly aligned with the frame. Note that the port (lower) wing hardpoint is against the tube, but the starboard one (top) has a couple of mm of space. I am not confident these are aligned. They are placed where the nearby attached parts made them fit. They may not have been aligned before but worked.


To act as a hardpoint for the wing tube I installed a dowel in front of the wing tube, epoxied in full contact with the wing tube and a frame abutting the bottom tray. The wing tube is going to affect fuel tank fit, but we will deal with that later. This firmly transfers forces to the major fuselage structures rather than  just a few stringers and sheeting.


That heavily epoxied ares sanded as best as I could.


Spackled, done for the day to allow all the sparkling a good 24 hr dry before hand sanding smooth.


This repaired area underside was more patch worked than the side was. Thought I had a pic, but alas here it is spackled. After sanding I plan to apply a thinned coat of epoxy, and then will put a Sheet of cote across the stringers there. I am considering laying down a sheet or two of fine fiberglass onto provide a lot of structural strength. I think that may be needless, and add more weight than benefit.

So tomorrow will be telling. I will test fit the wings and see if I will need to come up with a new way to secure them to the fuse if the hard points don't allow an aligned fit. The space difference between the tube, which is true,and the mounting hardpoints suggests this isn't going to go well.